

Push Image on Instant Clone Desktop Pool
Hi all,
Today we will discuss about Push Image feature on Instant clone desktop pool. As I said earlier on View Composer feature, Push Image feature used for upgrade/modify your existing instant clone desktop pool.
Horizon View 7.5 blog series: “Horizon View 7.5”
Previous blog post: “Floating Desktop Pool with Instant Clone”
Let’s start..
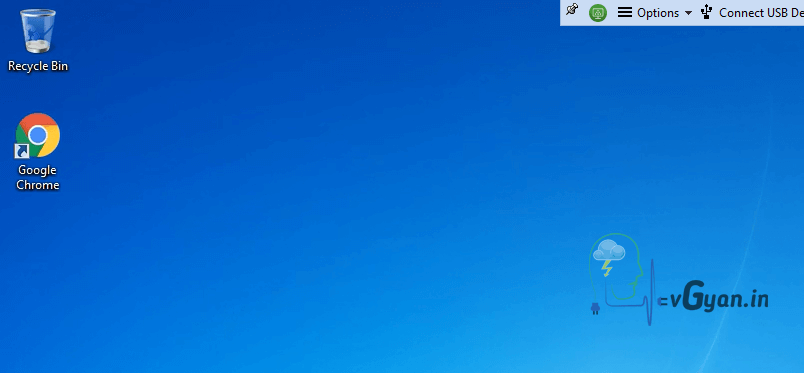
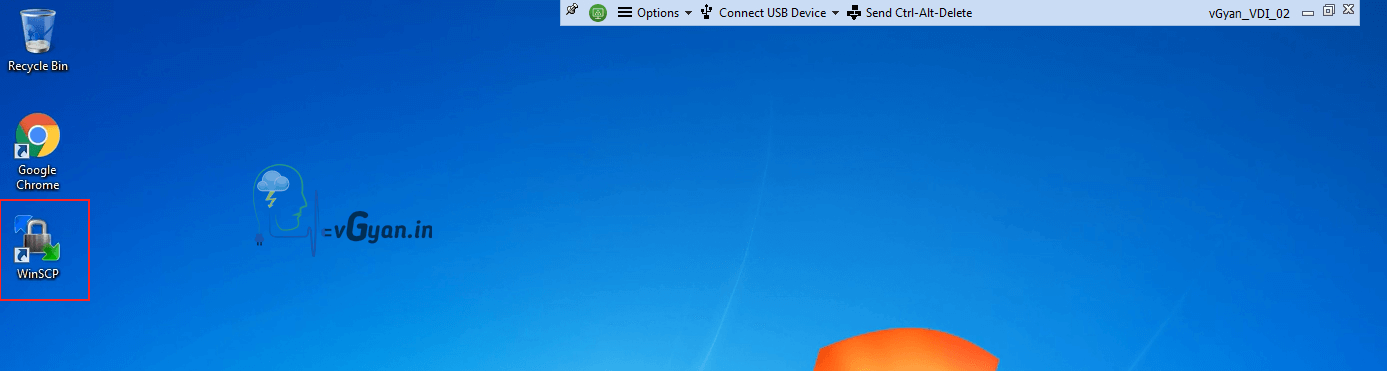
Below screenshot shows, Instant clone desktop machine has only Google Chrome installed on it. I am going install WinSCP software on my Golden Image and publishing through Push Image feature.
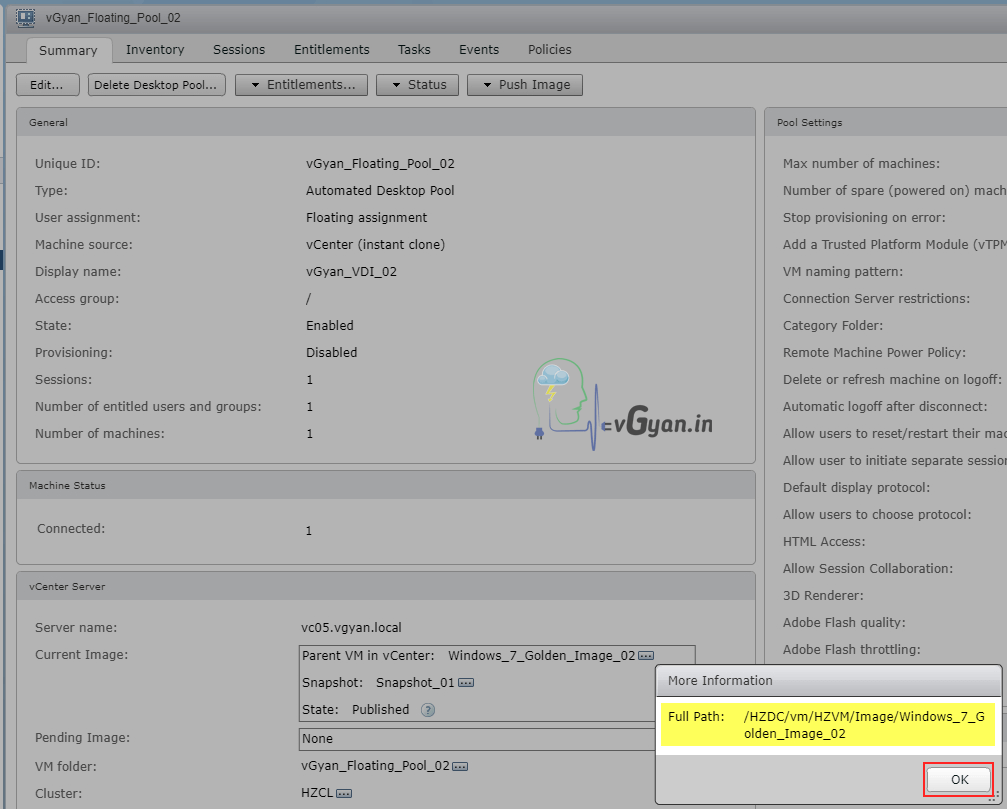
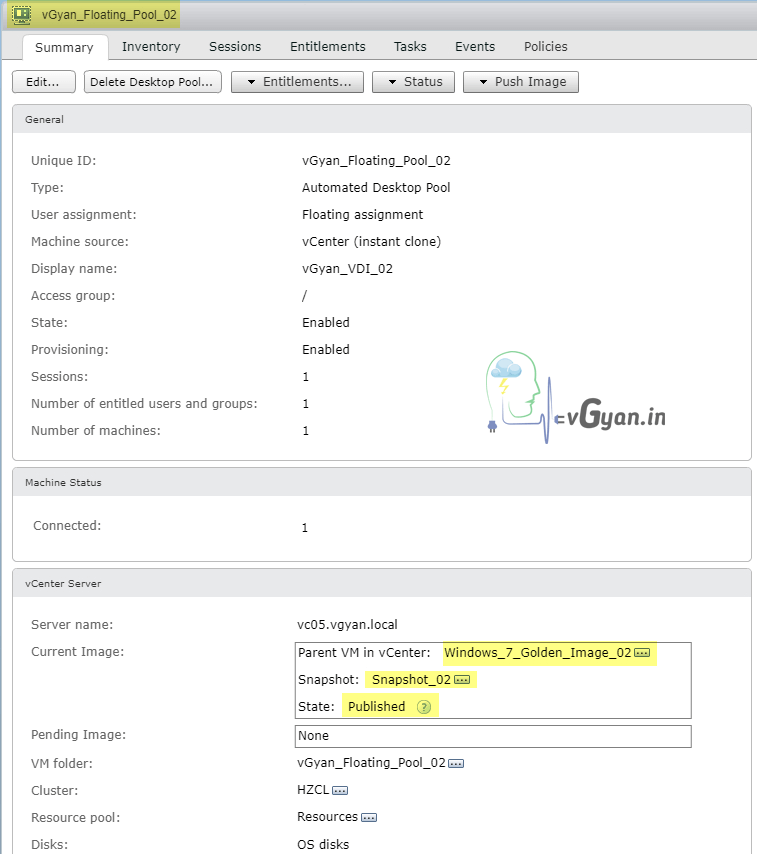
Login to Horizon View Administrator console and verify Instant clone desktop pool current image and snapshot from summary tab.
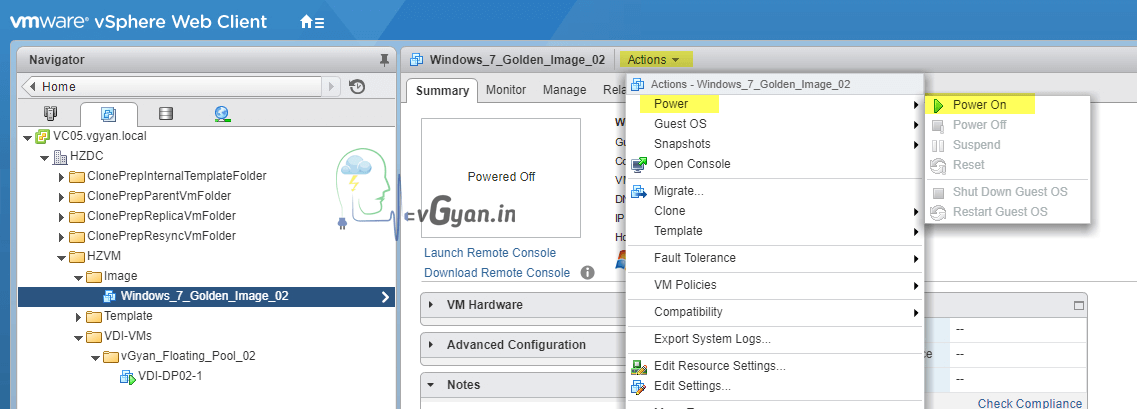
Power ON Instant clone desktop pool golden image/Base Image.
Golden Image: Windows_7_Golden_Image_02.
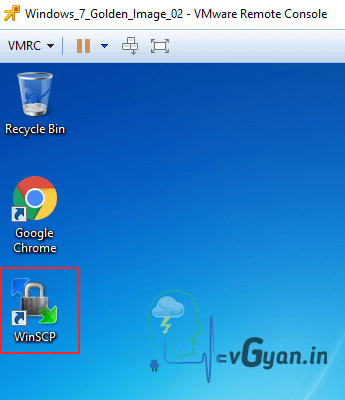
Modify/Install required applications on your golden image.
I have installed WinSCP software on my Golden Image image and powered off.
Take one more Snapshot on your Golden image/Base image.
Name: Snapshot_02
Description: with WinSCP
Click OK.

Verify Snapshot_02 from snapshot manager.

- In Horizon Administrator, select Catalog > Desktop Pools
- Double-click the pool ID “vGyan_Floating_Pool_02”
- Select .

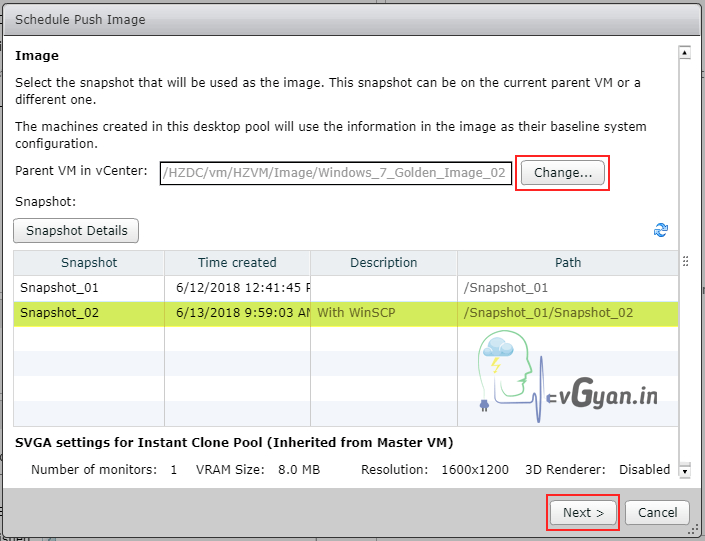
From schedule push image window, If you want to change golden image you can change from “Change” option.
Select “Snapshot_02” and click Next.
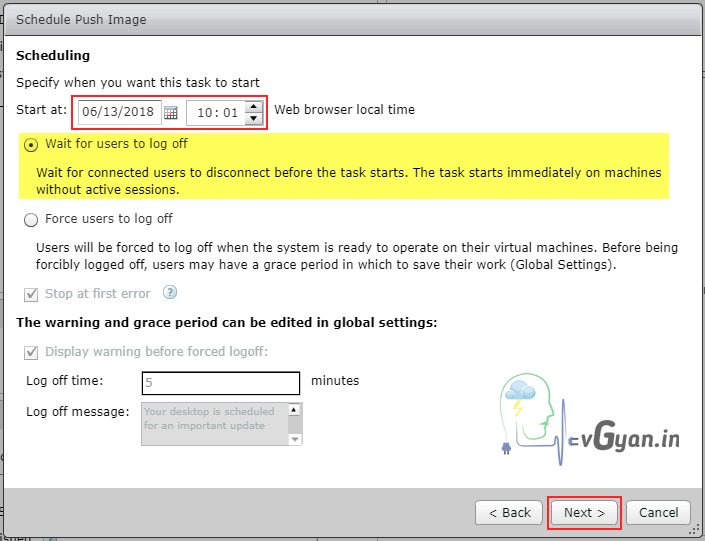
Under scheduling, select wait for users to log off.
We can use force log off option as well, but I recommend “wait for users to log off“.
Click Next.
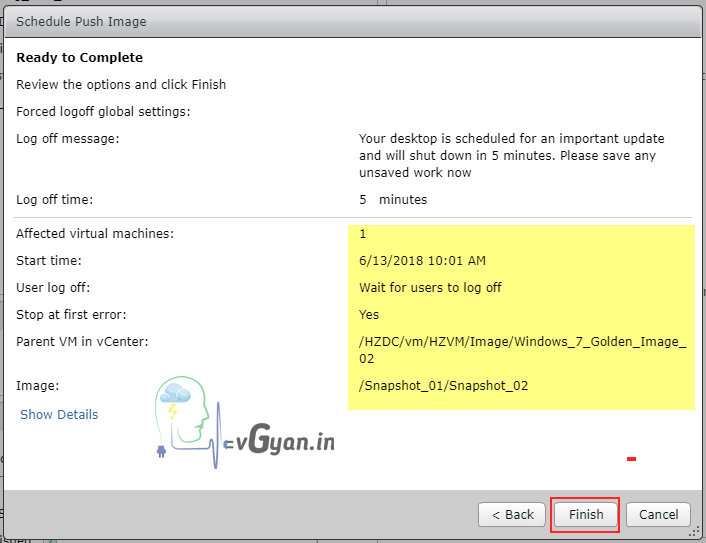
Verify all details and client Finish.
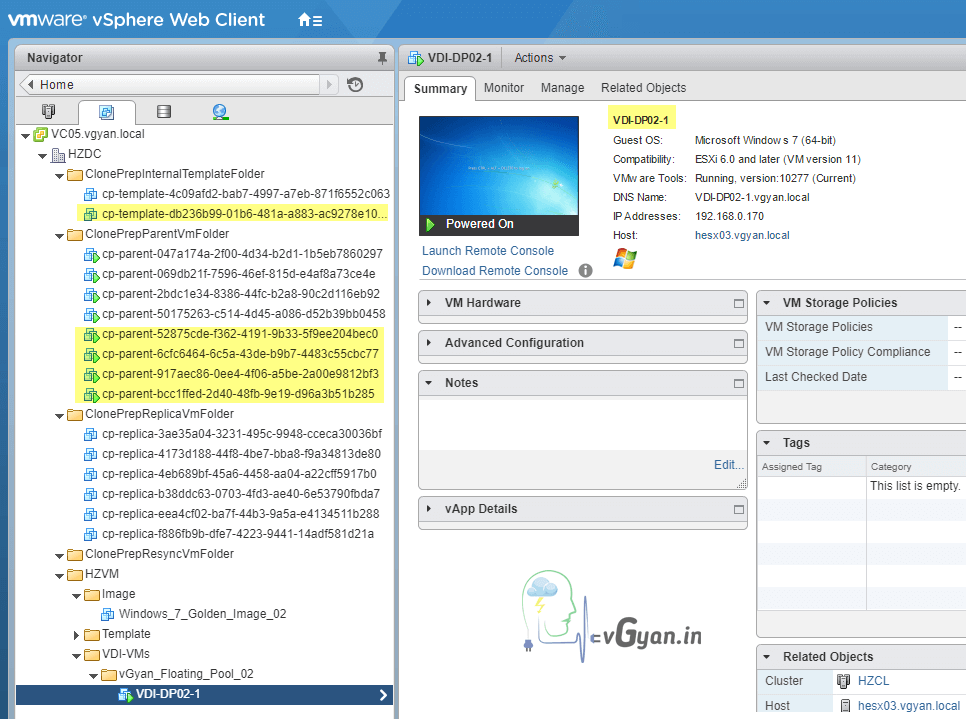
Below screenshot shows, VDI-DP02-1 new VM created and it’s available for use.
In vCenter you can find multiple folders created for Instant clone, each folder has unique purpose.
ClonePrepInternalTemplateFolder
- cp-template-xxxx: This is the template VM that is used to create your Instant Clones. created from your master image.
ClonePrepParentVmFolder
- cp-parent-xxxx: The number of these VMs should match the number of hosts in your cluster.Each ESXi server will have 1 of these powered on and in memory to create the Instant Clone VMs.
ClonePrepReplicaVmFolder
- cp-replica-xxxx: This VM is used to create the cp-parent VMs. It is used to provision additional cp-parent VMs.
ClonePrepResyncVmFolder
- If you want to update/modify the Clones with a new image it will create a VM in here for staging.
I have logged in to available Instant Clone desktop, now we can see newly installed WinSCP available on desktop.
You can verify desktop pool summary,
- Parent VM in cluster: Windows_7_Golden_Image_02
- Snapshot: Snapshot_02
- State: Published
So we successfully installed new software with help of Push Image on Instant Clone desktop pool.
That’s all guys.. will discuss more on Horizon View 7.5 in upcoming post, Horizon View components installation and configuration, various Desktop pool creations, Application publishing etc… stay tuned.. 
Next blog post will be “Dedicated Desktop Pool with Full Clone”
I hope you enjoyed reading this post. Feel free to share this to others if it is worth sharing!!!

