
How to deploy vRealize Operations Manager 6.5
Hi All,
Today we will discuss about vRealize operations manager 6.5 deployment.
I am going to deploy vRealize Operations manager appliance on my lab environment.
vRealize Operations Manager (vROps) is a tool from VMware that helps IT administrators monitor,troubleshoot and manage the health and capacity of their virtual environment.
vRealize Operations Manager suite include:-
- vCenter Infrastructure Navigator (VIN)
- vRealize Configuration manager (vCM)
- vRealize Log Insight.
- vRealize Hyperic.
vRealize Operations Manager component architecture
vRealize Operations manager coming with new architecture.
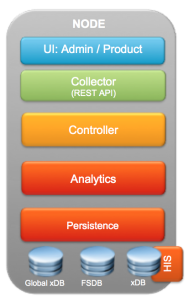 Image credit comelofeci.com
The five major components are:-
- User Interface
- Collector and the REST API
- Controller
- Analytics
- Persistence
We will discuss about all this in upcoming posts, Will try to deploy vROps 6.5 appliance.
I download vRealize 6.5 appliance from VMware website, you can register and download 60 days trail from VMware
From your vCenter Server right click on Cluster/Esxi host, Select Deploy OVF Template option.
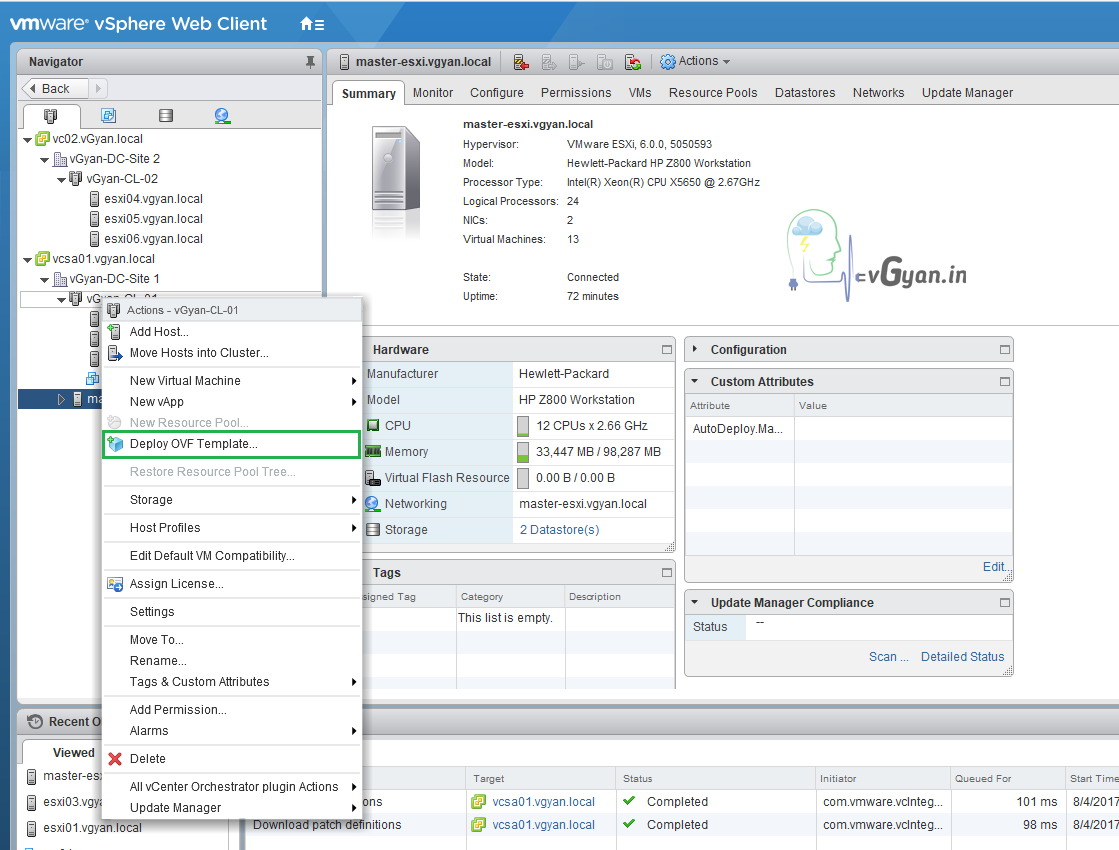
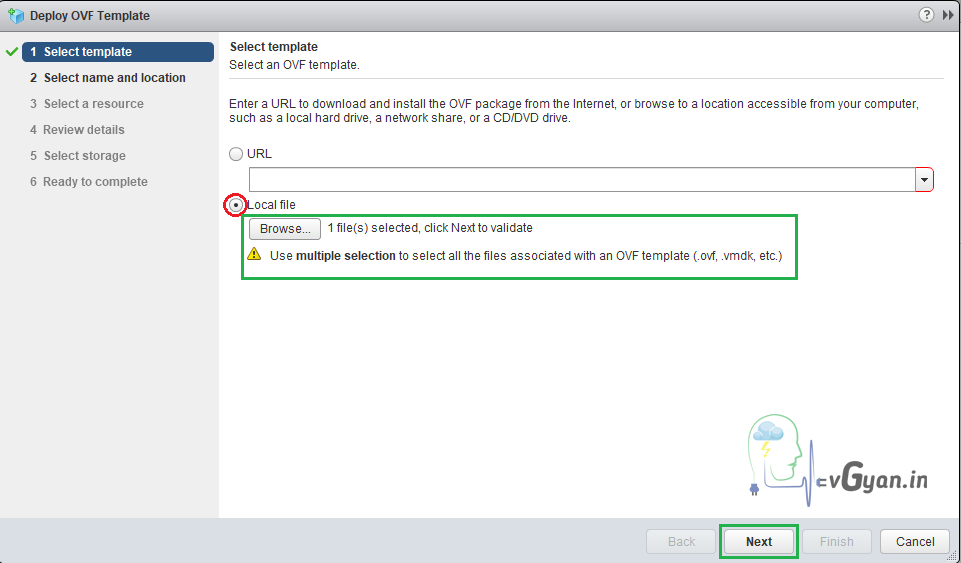
Select Browse and select vRealize 6.5 OVF file for the deployment.
Click Next to continue:-
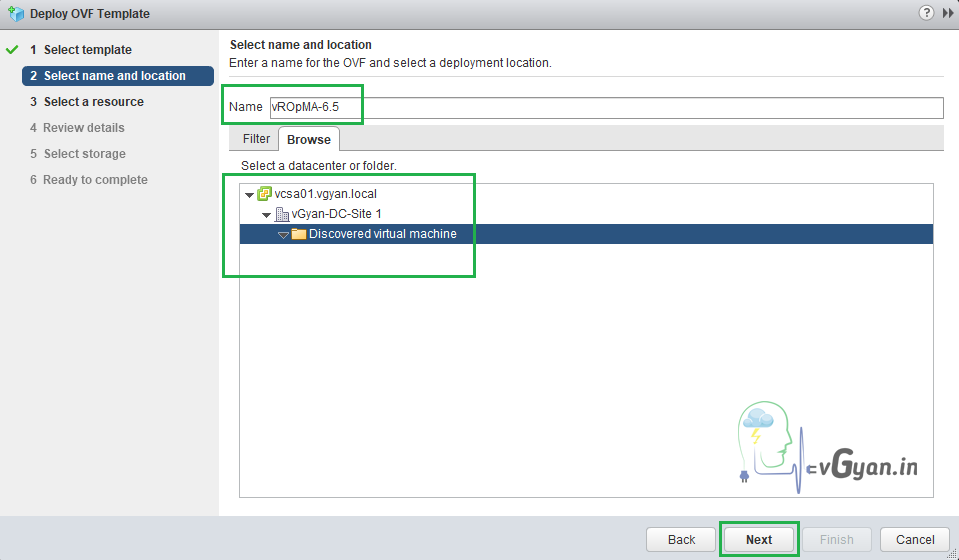
Select Name and location for the new VM.
Name: vROpMA-6.5
Location: vGyan-DC-Site 1
Click Next to continue:-
Select a host or cluster to run the deployed template.
I am selecting my Master ESXi mode for deployment.
Click Next to continue:-

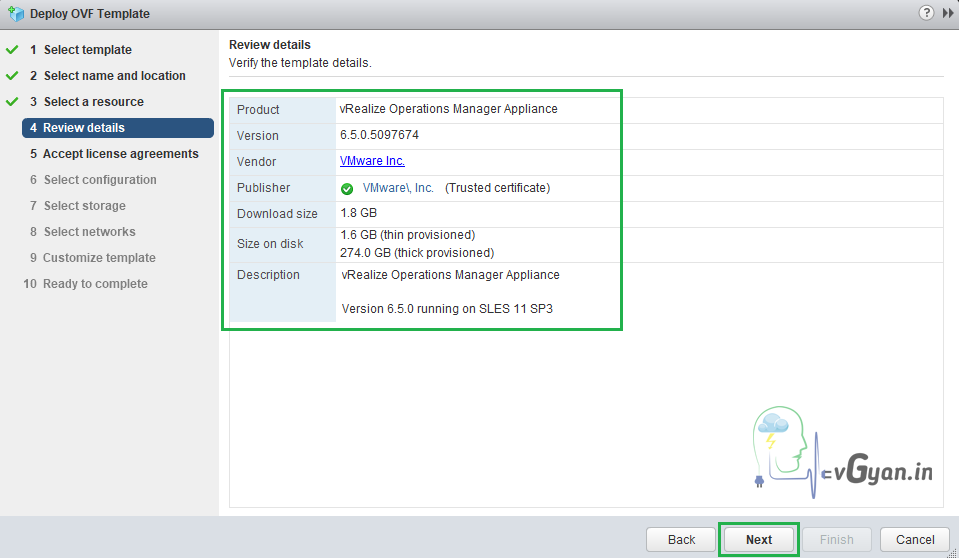
Verify all the details and click Next to continue:-
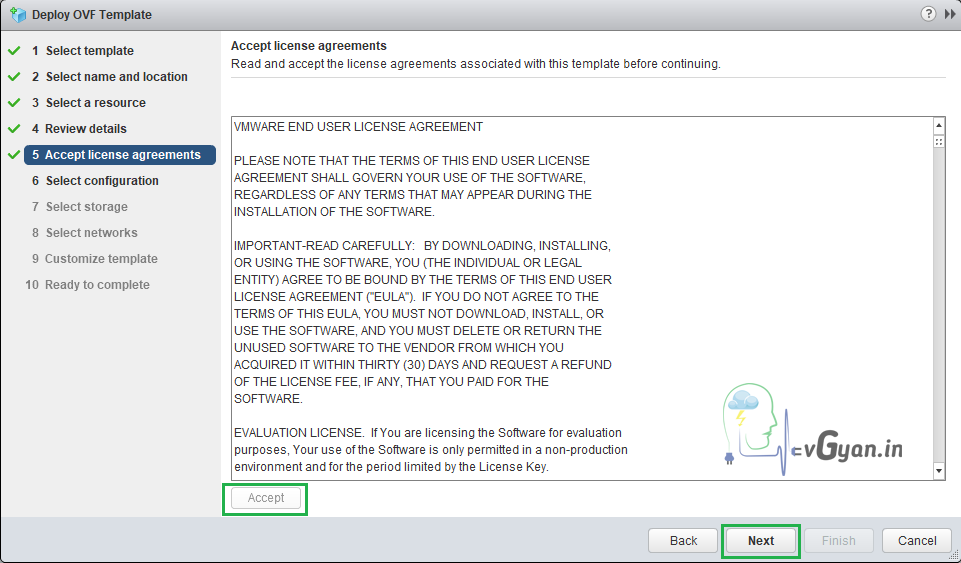
Accept the licence agreement and click Next to continue:-
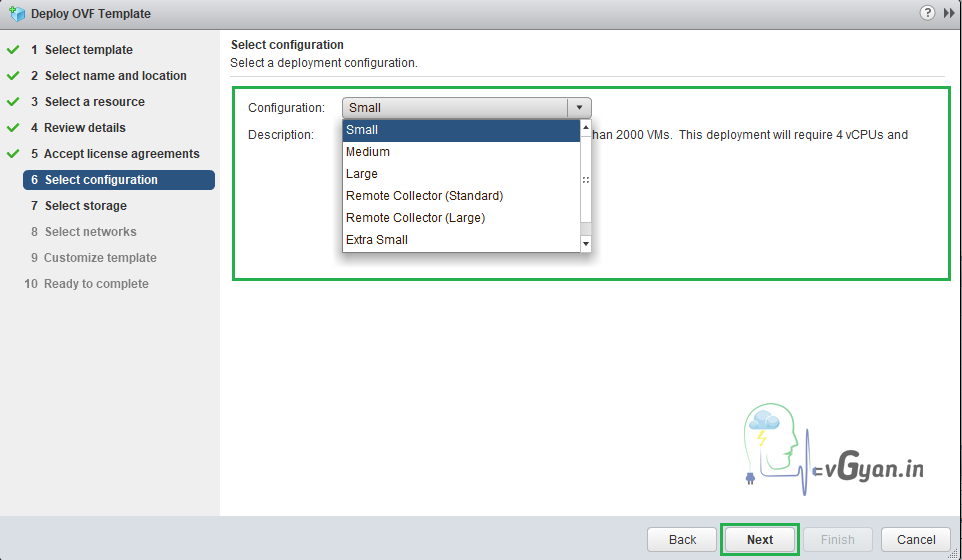
Select deployment configuration here:-
There are 6 type of configurations are available in vRealize operations manager 6.5.
I am selecting Small configuration here, 4 vCPU and 16GB’s of RAM.
If you have resource issues, for testing purposes go with Extra small configuration.
Click Next to continue:-
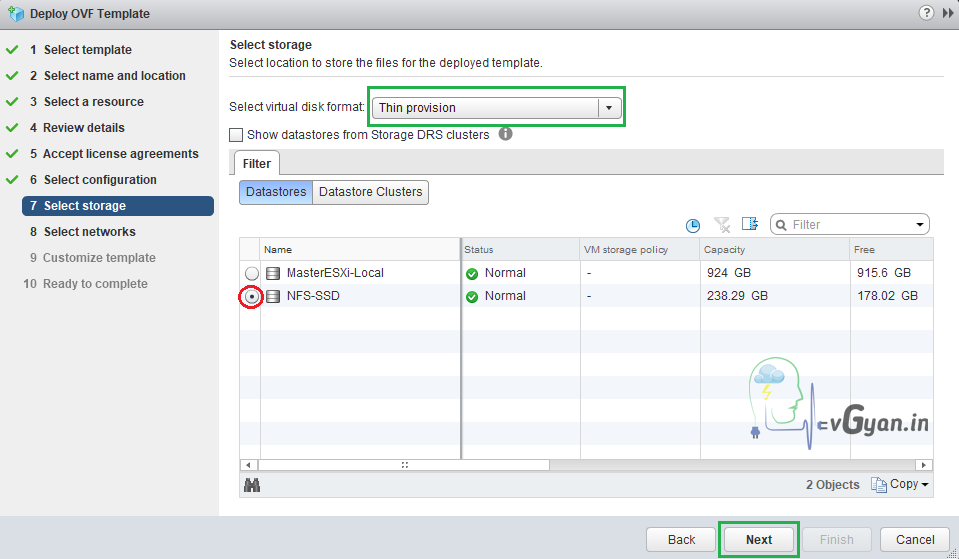
Select location to store the files for the deployed template.
I am selecting NFS storage with thin provision.
For production environment Thin Provision not at all recommended, if you’re using Thin provision it reduces the performance.
Click Next to continue:-
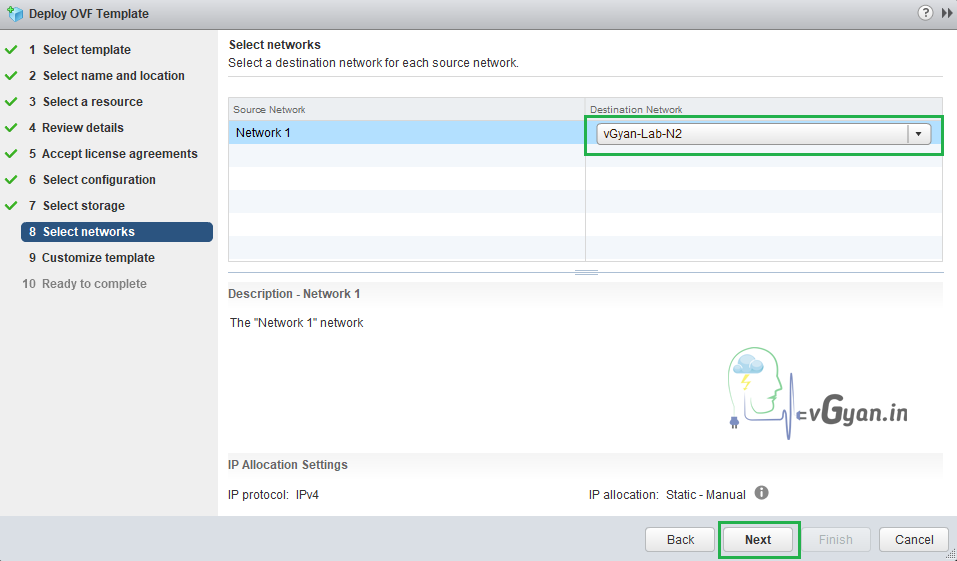
Select Network for deployment.
Click Next to continue:-
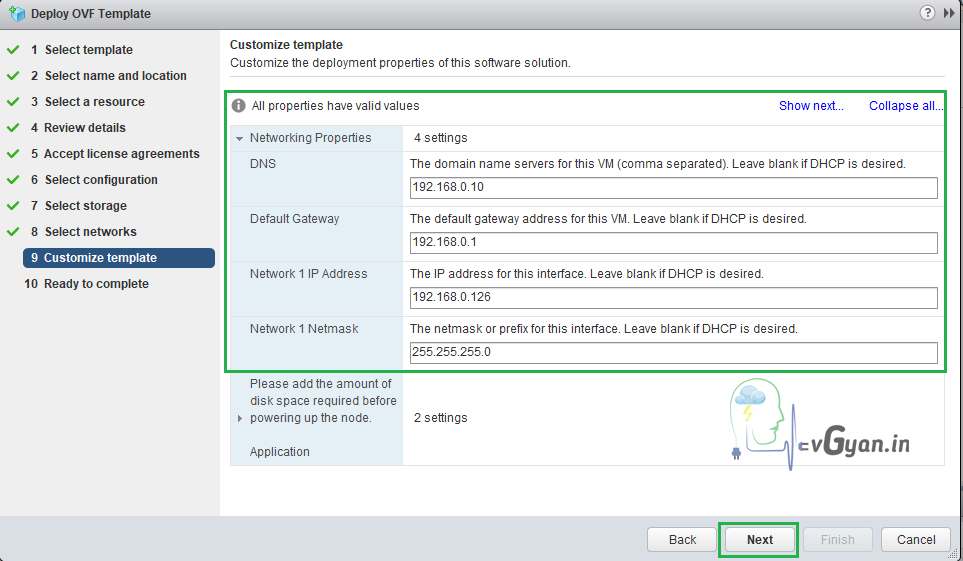
Provide all required details for network configuration.
DNS: 192.168.0.10
Default gateway: 192.168.0.1
Network 1 IP address: 192.168.0.126
Network 1 Netmask: 255.255.255.0
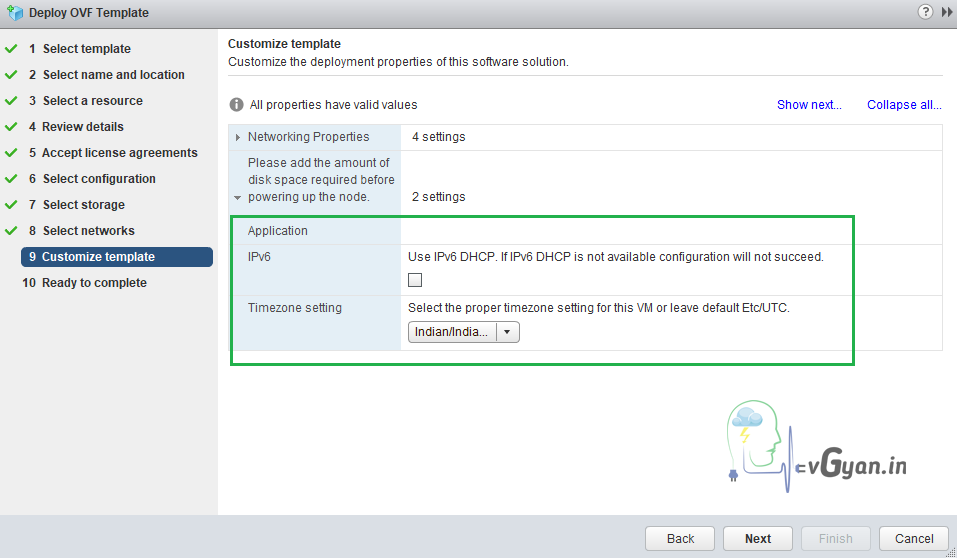
In the next two settings, you can enable IPv6 and select time zones.
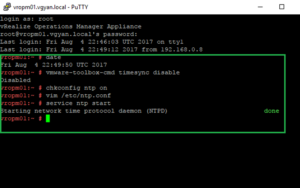
I need to set my time zone as IST, the only option I found in the list Indian/Indian. But this time zone didn’t work. By default it came as UTC time zone after the deployment. I will write a different post with all the troubleshooting steps.
Click Next to continue:-
Verify all the configuration Click Finish to complete the deployment.

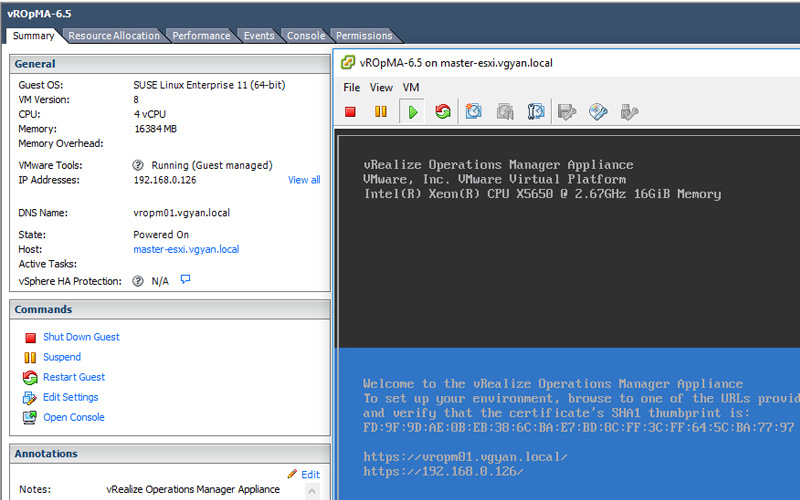
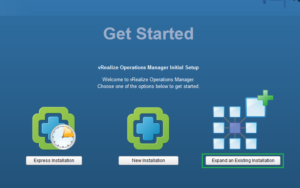
Once the deployment completed, we need to power ON the newly deployed appliance.
Once the appliance booted up, we can access and configure the vRealize Operations manager 6.5.

In the next post I will share you How to configure vRealize Operations manager for first use.
I hope you enjoyed reading this post. Feel free to share this to others if it is worth sharing!!!
