
Windows vCenter 6.0 to VCSA 6.5 with VUM
Hi all,
Today we will discuss about how to migrate a Windows based vCenter Server 6.0 to vCenter Server Appliance 6.5 with an external VMware update manager (VUM).
In our production environment we have windows based vCenter Server, windows based SQL database server, windows based Update Manager Server and all are running as virtual machines.
So if you are taking this environment as an example we need three windows server license, one SQL server license and resource for running this three servers. Apart from that we have dependency on OS team and database team to setup or troubleshoot Virtualized environment.
Why we need to rethink… VMware vCenter 6.5 appliance is coming with all the supported features available in Windows based vCenter Server. Integrated update manager and prostrige database, all in one solution for your virtualized environment.
In my lab environment I have one VMware vCenter Server 6.0 running on Windows 2012 R2 with embedded SQL database and an external VMware update manager with embedded SQL database.
Let’s try to migrate this environment to VCSA 6.5 with an embedded update manager.
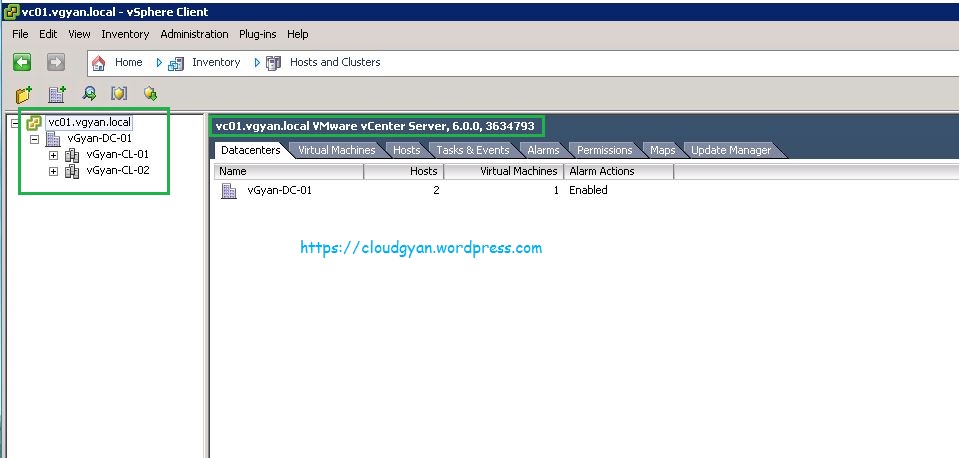
In the below image I have vc01.vgyan.local windows based vCenter server with vGyan-DC-01 data center and two cluster vGyan-CL-01,vGyan-CL-02.
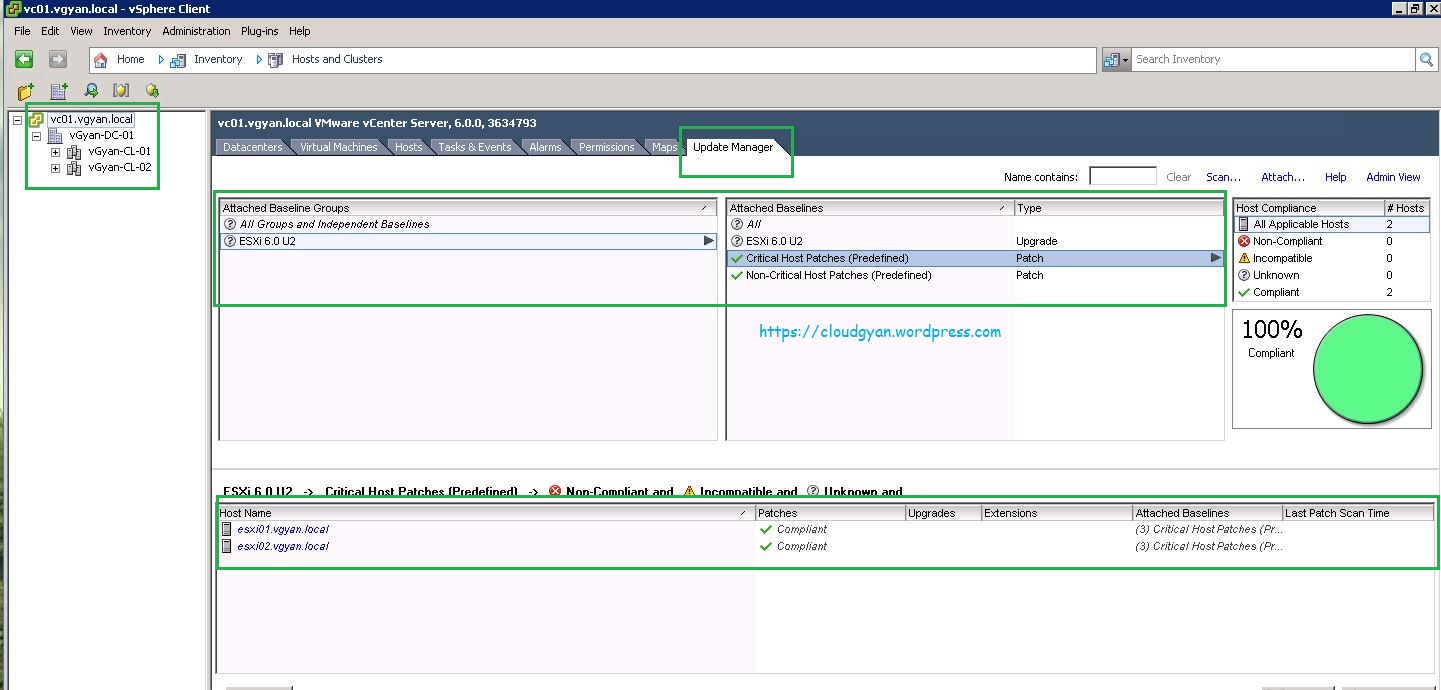
I have created a baseline group ESXi 6.0 U2 and uploaded esxi 6.0 u2 image to my update manager.
Before starting migration we need to take a full backup of vCenter Server, SQL database and update manager ( backup required only in production environment).
Make sure all network requirements/administration privilege’s are in place.
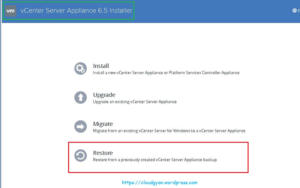
We need to run vCenter Server Appliance installer from a different PC, it’s should not be your vCenter Server or update manager server.
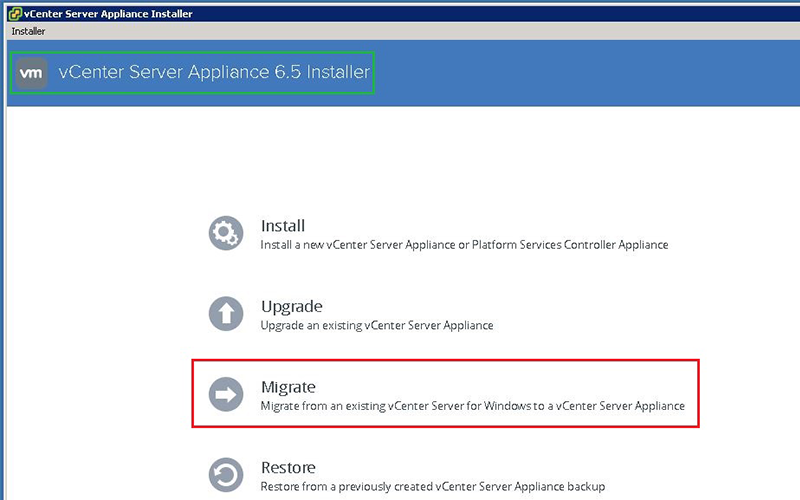
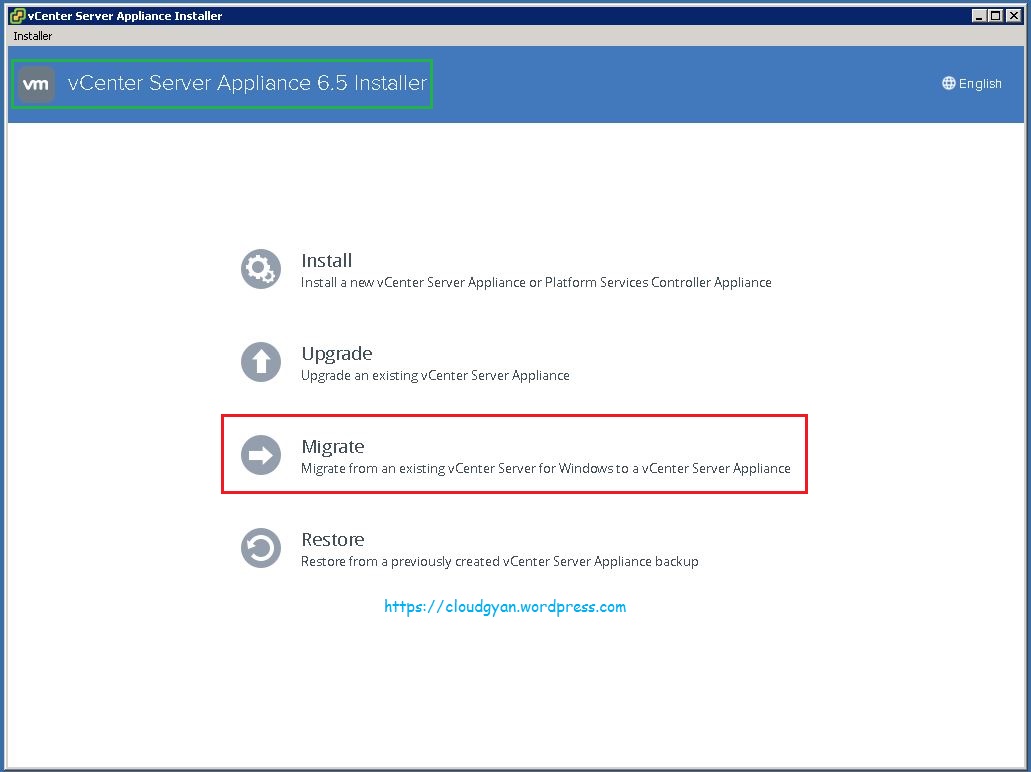
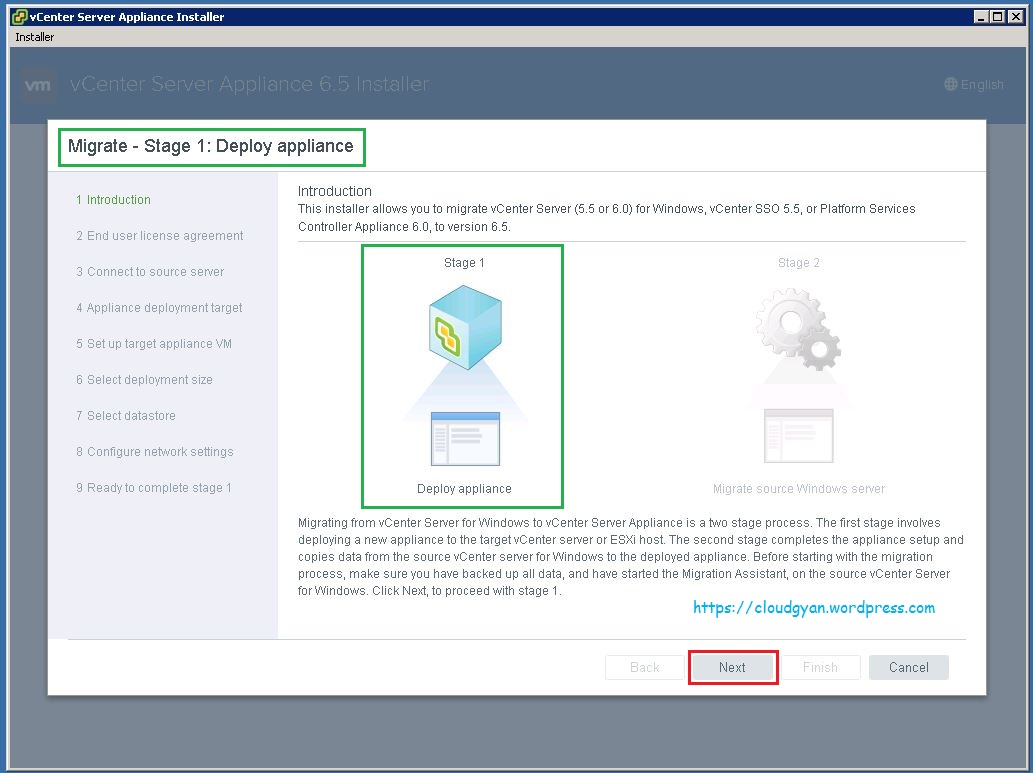
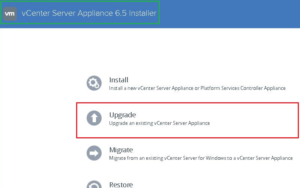
Once the installer application launched, select migrate option.
Stage 1 we are going to deploy the base appliance, click Next to continue:-
Accept the terms of the licence agreement and click Next to continue:-

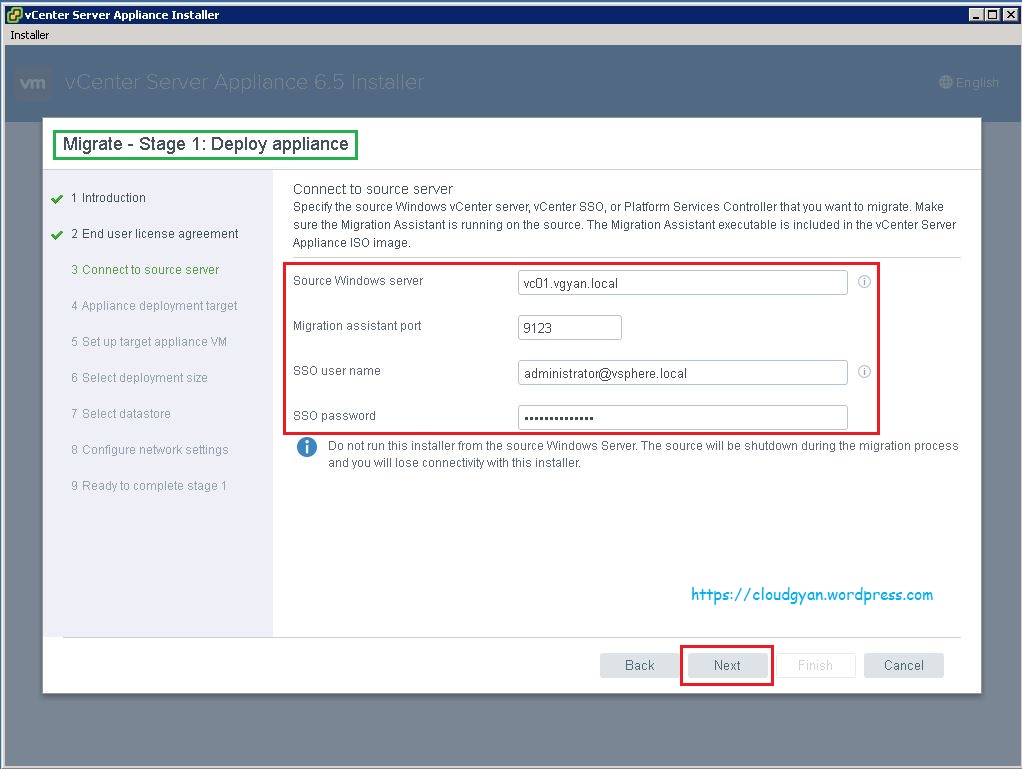
For connecting to your old windows based vCenter Server provide all necessary information.
Source windows server: vc01.vgyan.local
Migration port:9123
SSO user name:[email protected]
Password:******
Before clicking next, we need to run VMware-Migration-Assistant application on your vCenter Server and update manager server. Once it’s completed click Next to continue:-
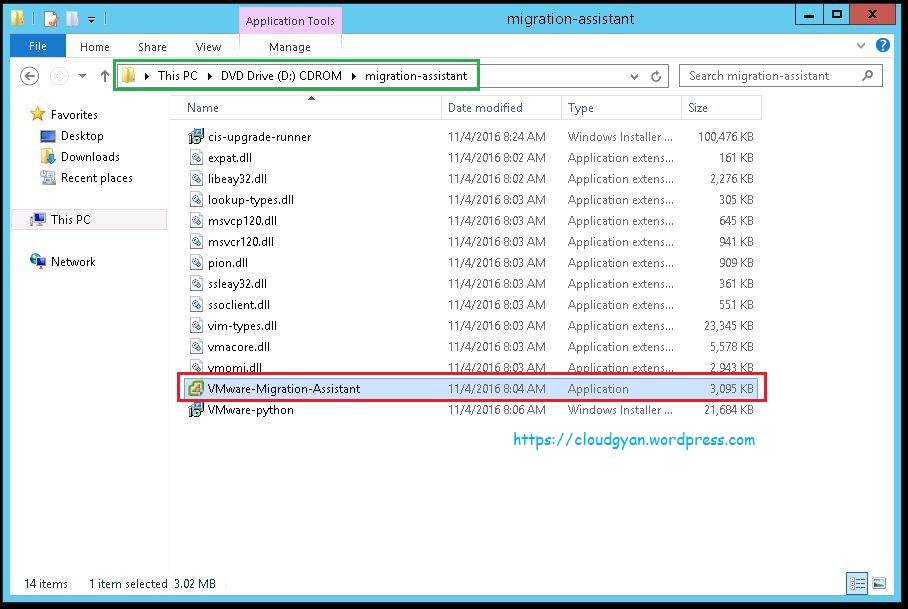
Attach VCSA 6.5 iso to your vCenter Server and update manager, open the attached iso file and open migration-assistant folder.
Open VMware-Migration-Assistant with RUN as administrator.
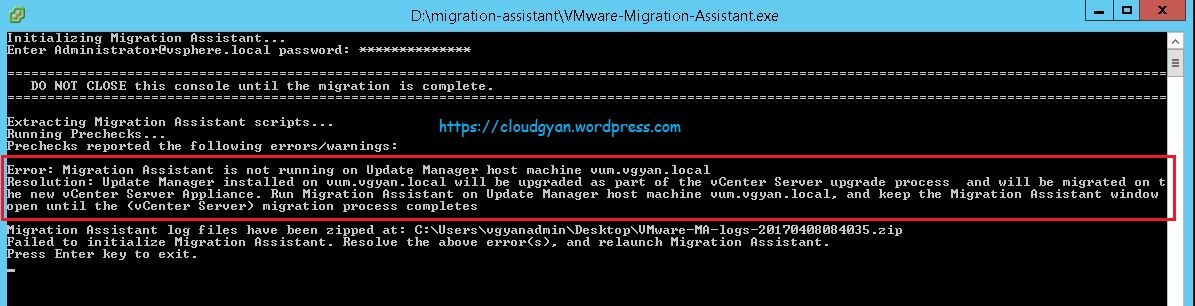
Provide your SSO password on the migration assistant tool.

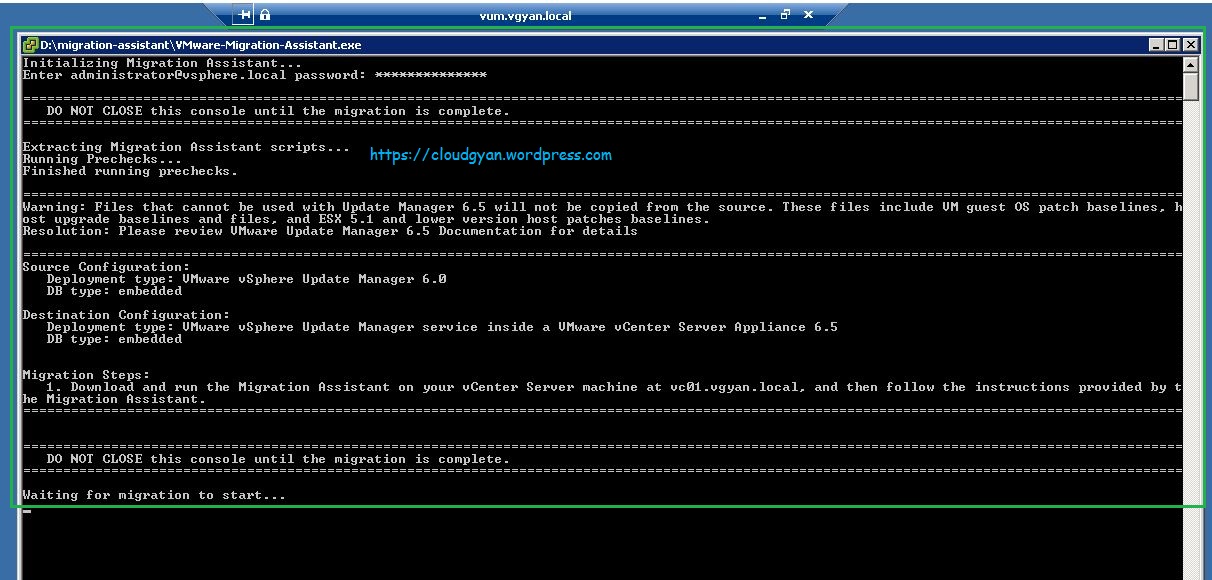
After the basic check the below screenshot says, first we need to run this migration tool on update manager server.
Now I am in my update manager server, started migration-assistant tool with SSO password.
completed all the pre-checks and waiting for migration to start.
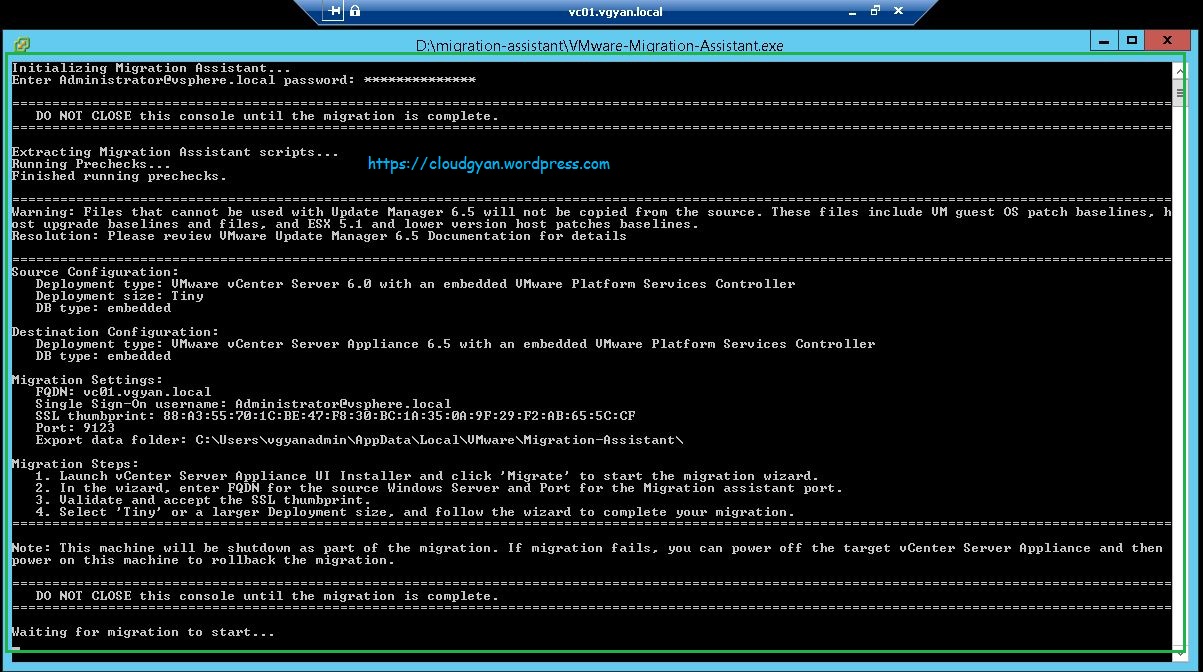
Now I am in my vCenter Server, started migration-assistant tool.
This time it’s completed without any errors and waiting for migration to start..
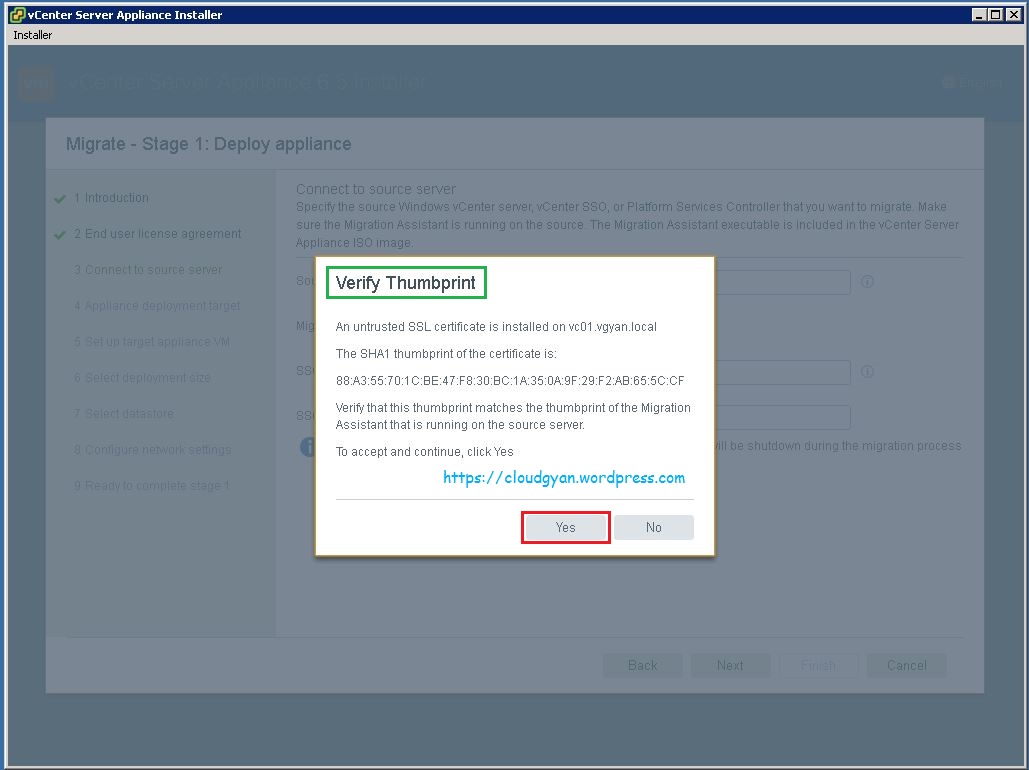
We will go back to the appliance installer, Click next to continue:-
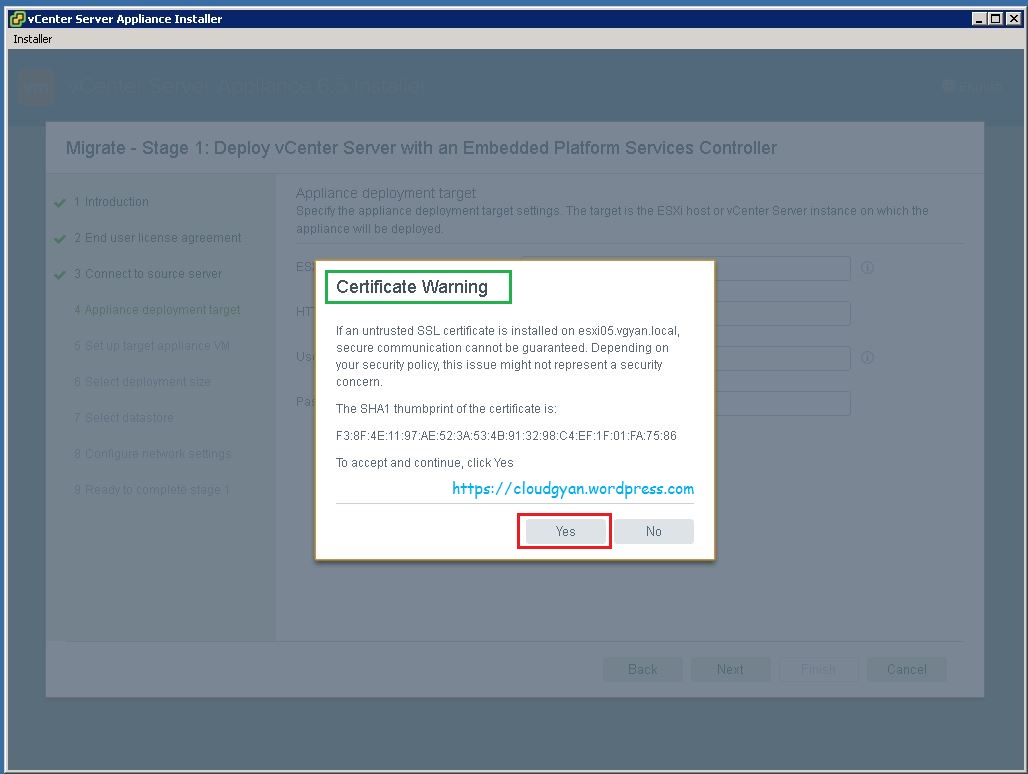
Verify Thumbprint and select yes.
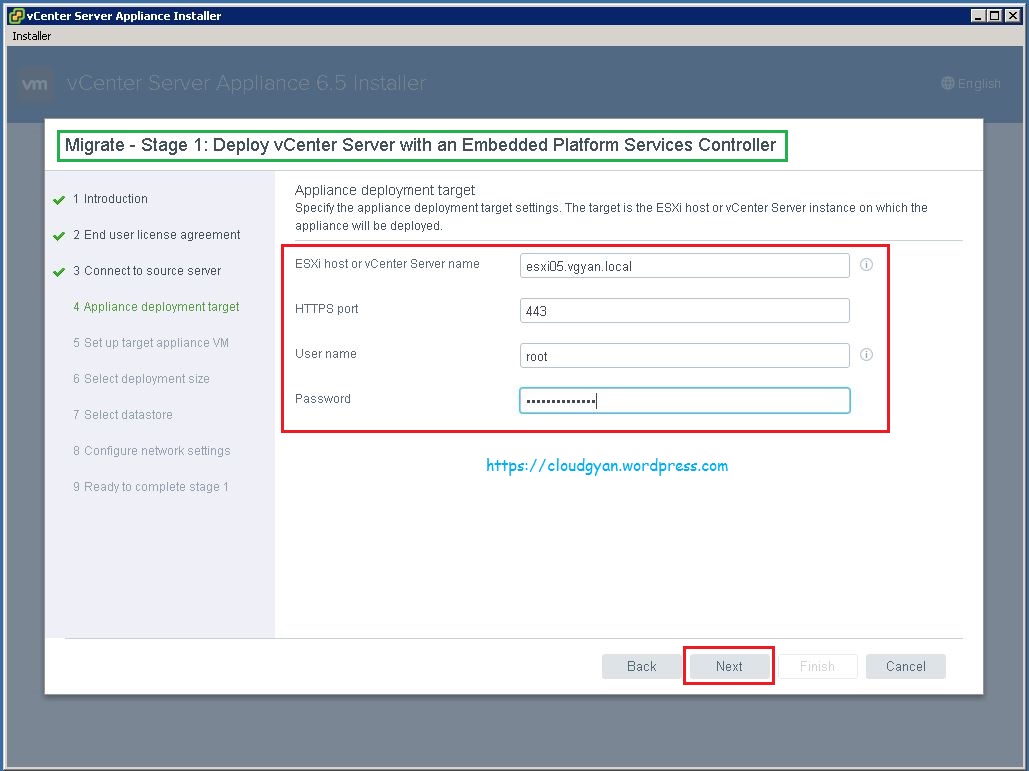
Provide the appliance deployment target details:-
ESXi host or vCenter Server name: esxi05.vgyan.local
HTTPS port: 443
User name: root
Password: *****
Click Next to continue:-
Verify the certificate warning and select yes.
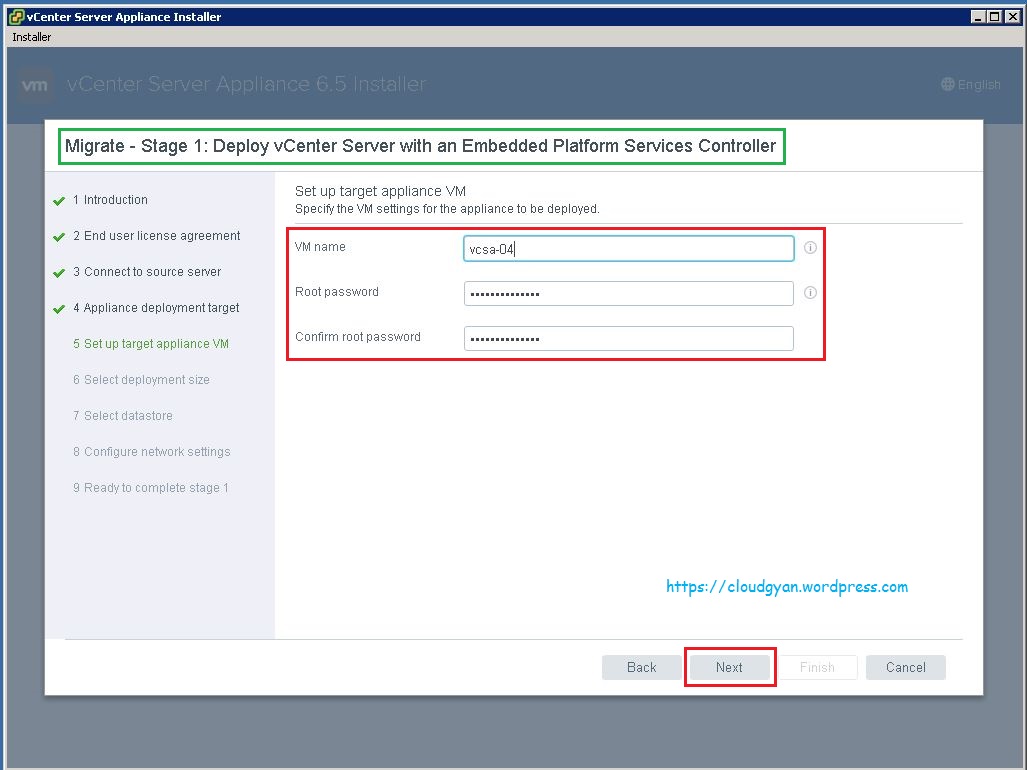
Provide details for target VM ( vCenter Appliance VM)
VM name: vcsa-04
Root password: *****
Confirm root password: *****
Click next to continue:-
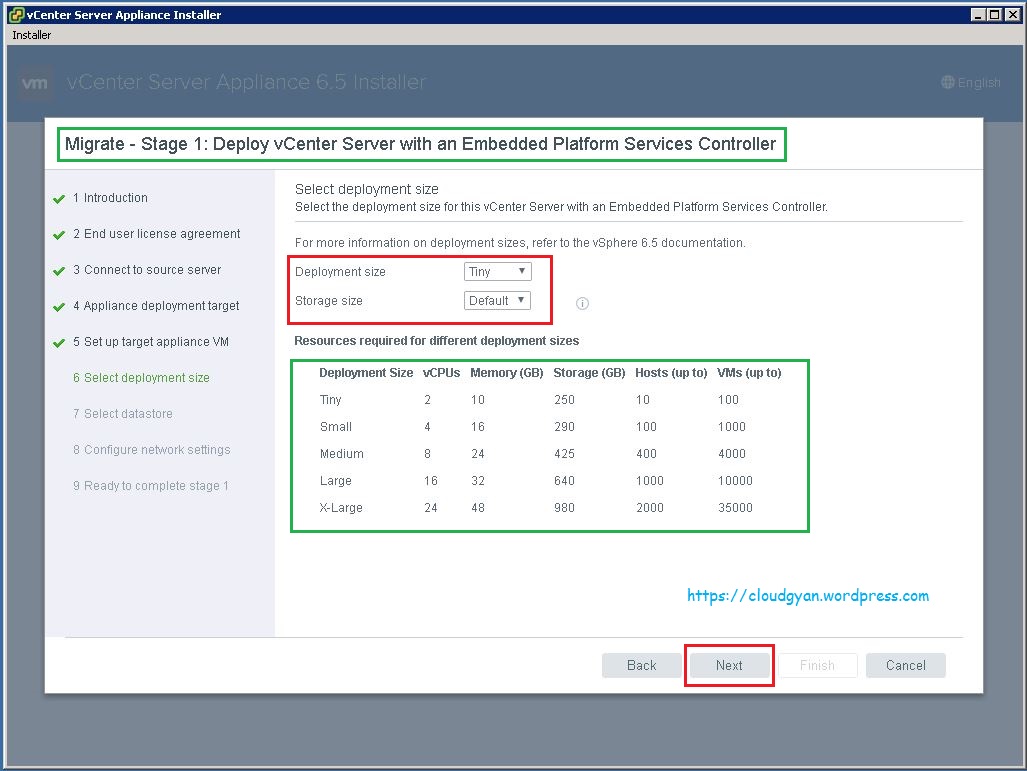
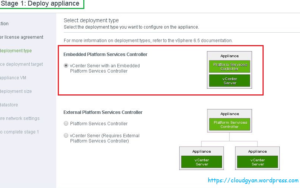
Select your deployment size,
I am running on testing environment so going with Tiny size.
As you can see in the below screenshot, you can select deployment size according to your environment.
Select any available storage with sufficient free space, I am going with Thin Disk mode.
If you are doing on production environment you should go with Thick disk otherwise it will impact in your vCenter performance.

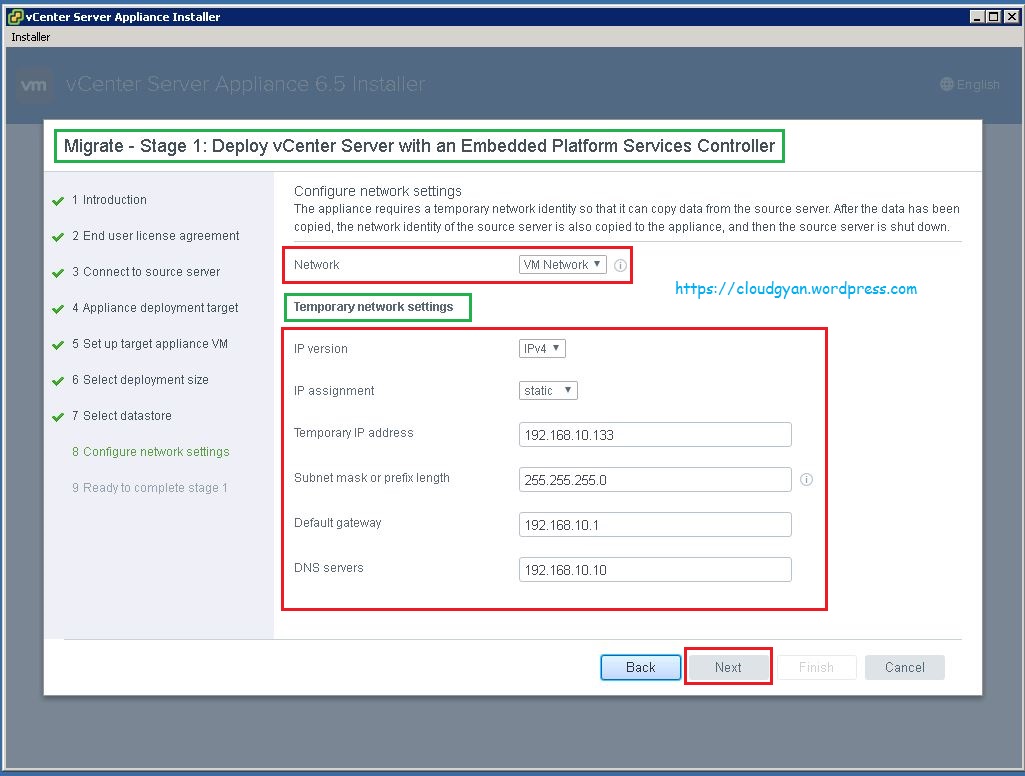
Configure network for VCSA
Select a network: VM Network
IP version: IPv4
IP assignment: static
Temporary IP address: 192.168.10.133 ( this IP will change to Windows vCenter Server IP after migration)
Subnet mask: 255.255.255.0
Default gateway: 192.168.10.1
DNS Server: 192.168.10.10
Verify all details and click next to continue:-
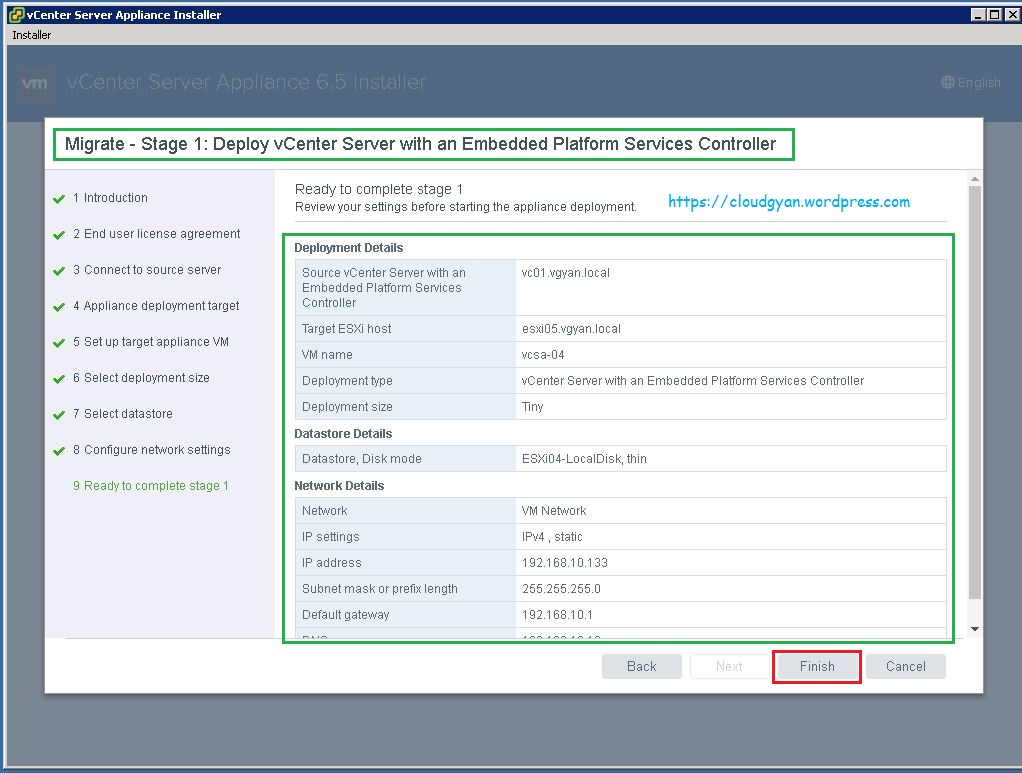
Verify all the information which we given through out installation and click Finish for stage 1 appliance deployment.
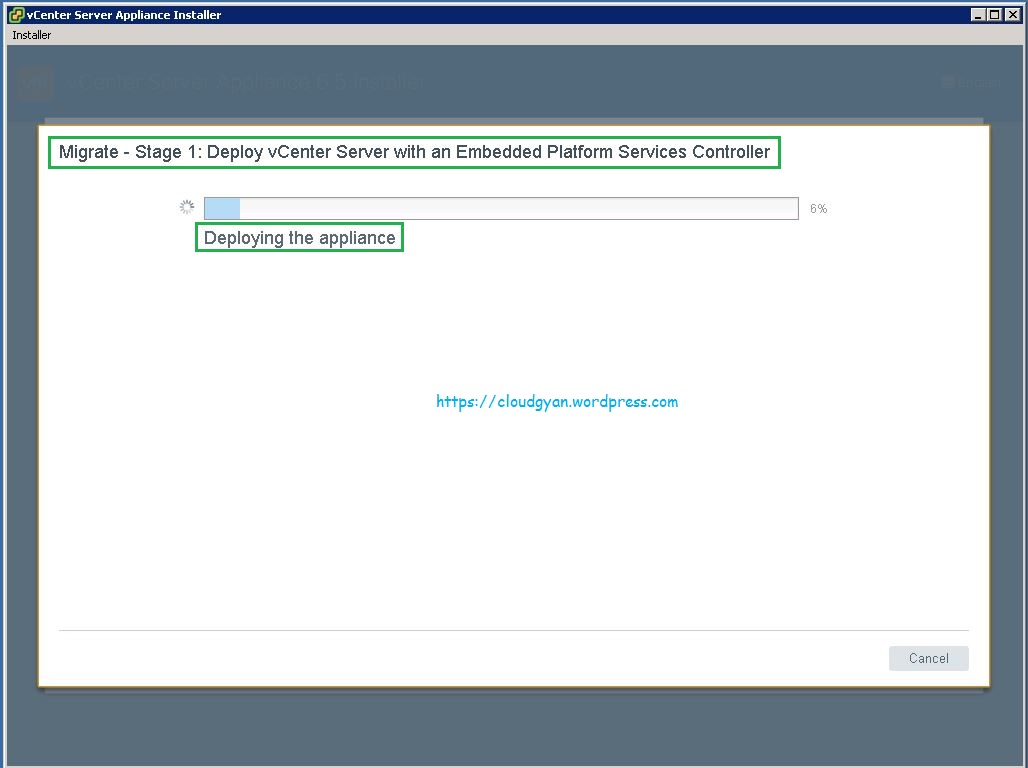
Appliance deployment started it’s taken around 10 min to complete.
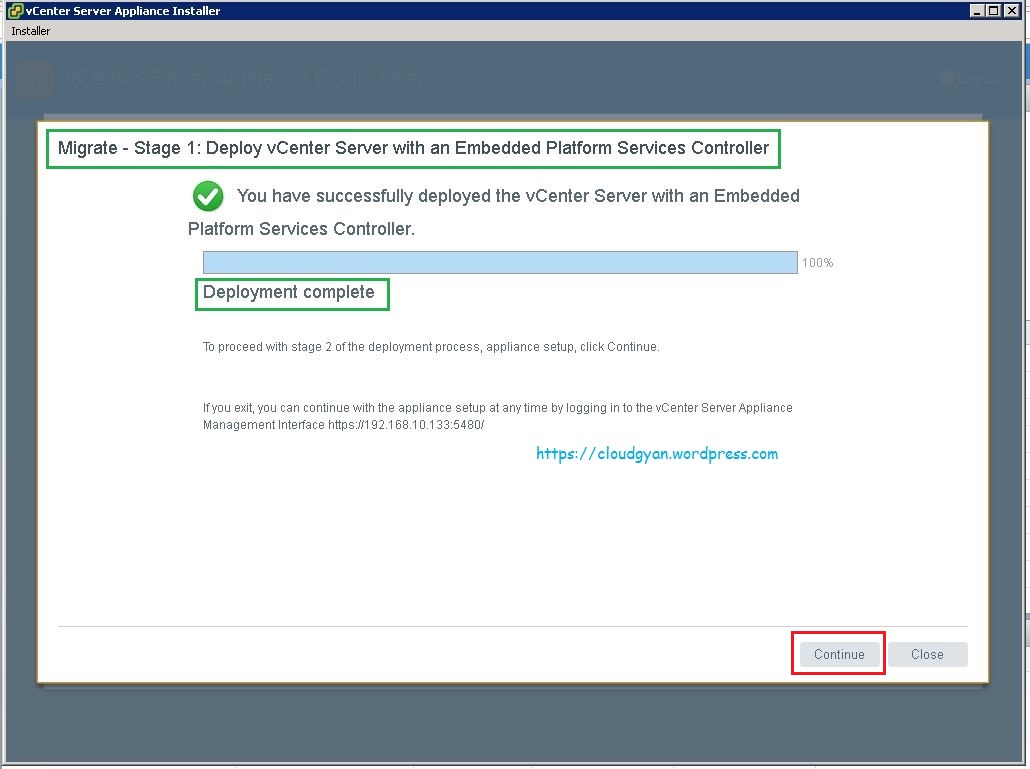
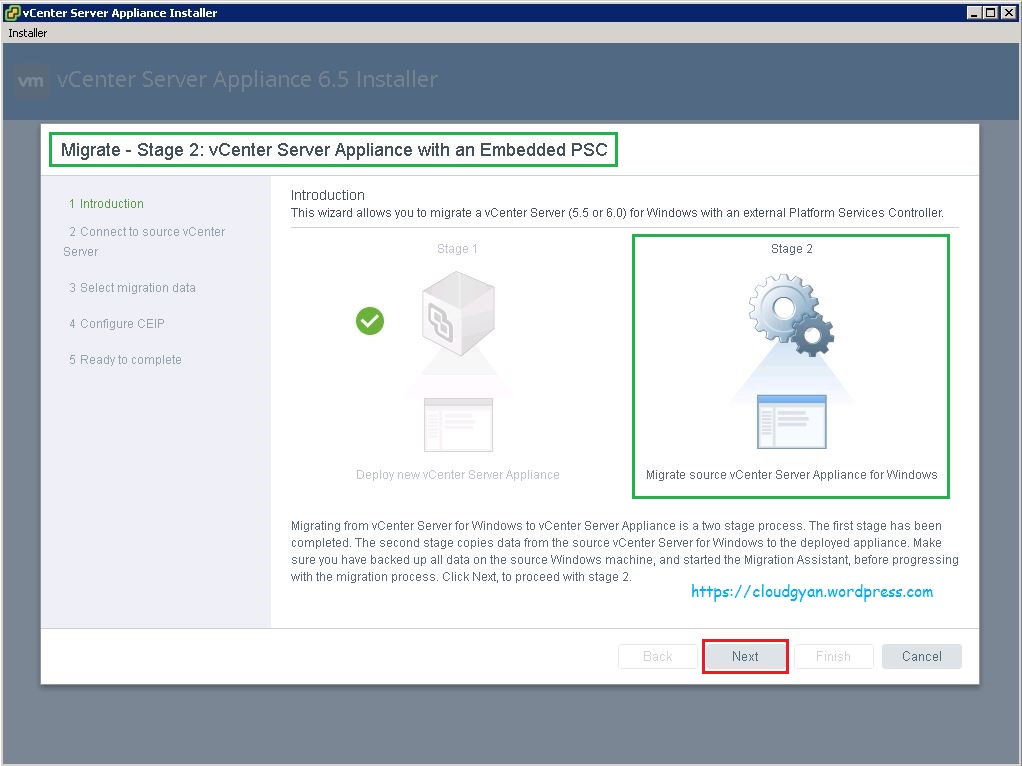
Once the deployment is completed click continue for stage 2 migration.
Below screenshot, we have vcsa-04 with temporary IP 192.168.10.133.
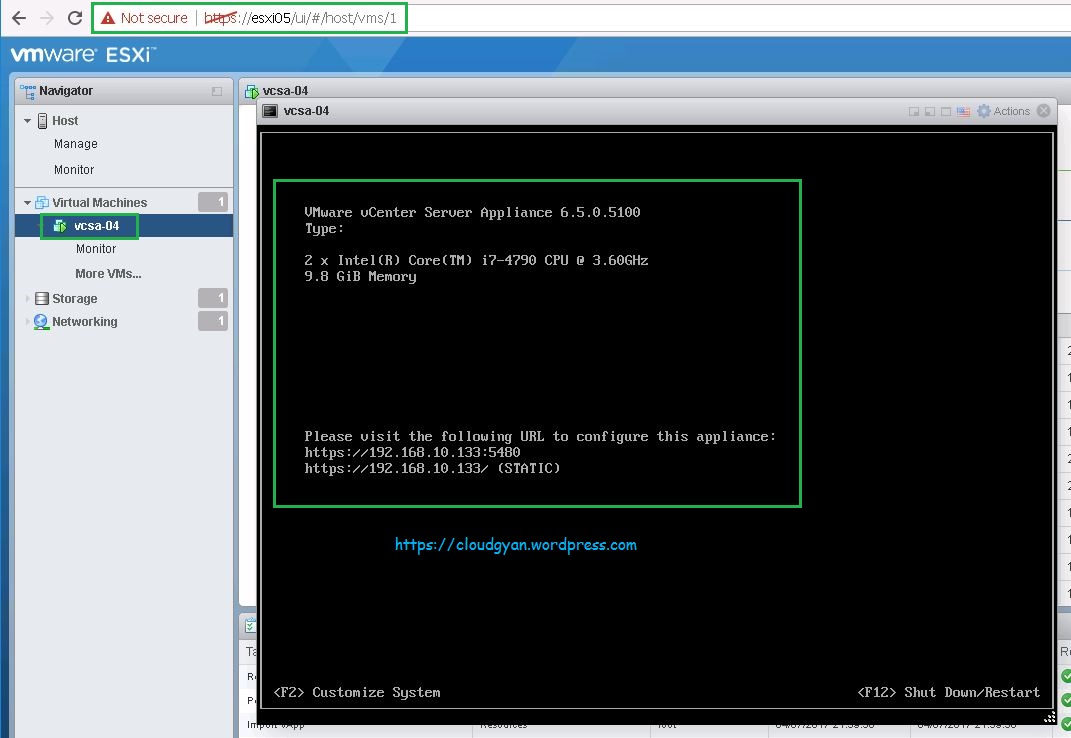
Click next to Continue:-
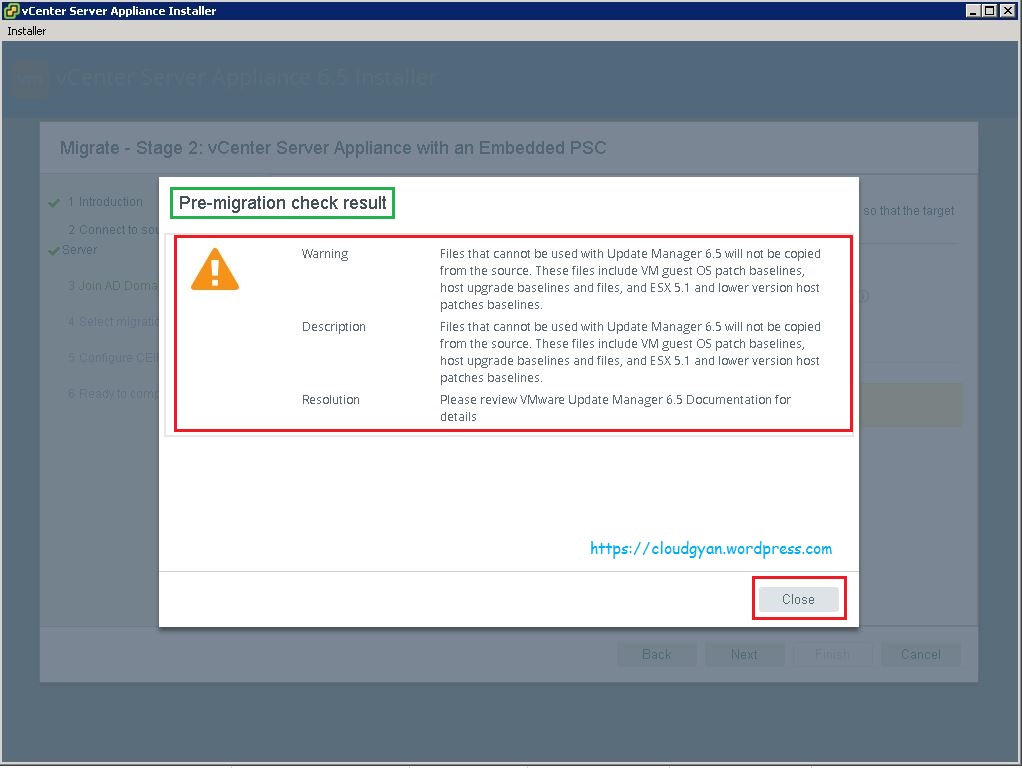
Pre-migration check result showing warning because we have external update manager available. As I said before, In update manager we have esxi 6.0 U2 image it can’t be migrated to new VCSA.
Click on close button:-
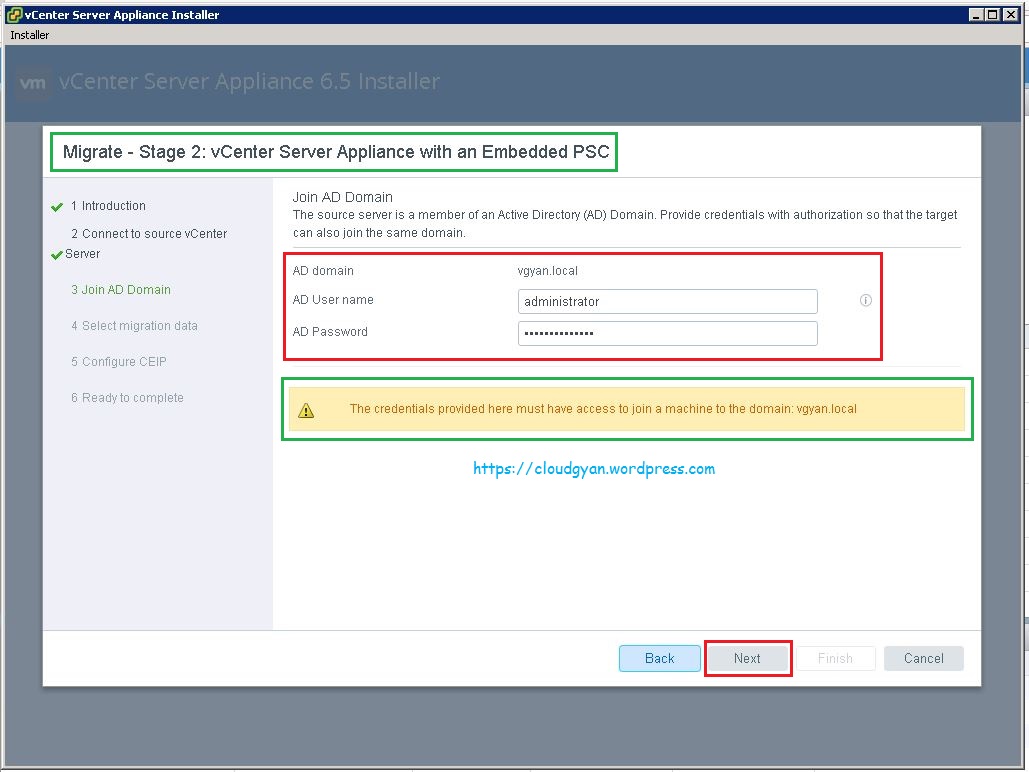
Provide the AD domain details.
AD domain: vgyan.loacl
AD User Name: administrator
AD password: *****
Note:- The credentials should have access to join a machine to domain.
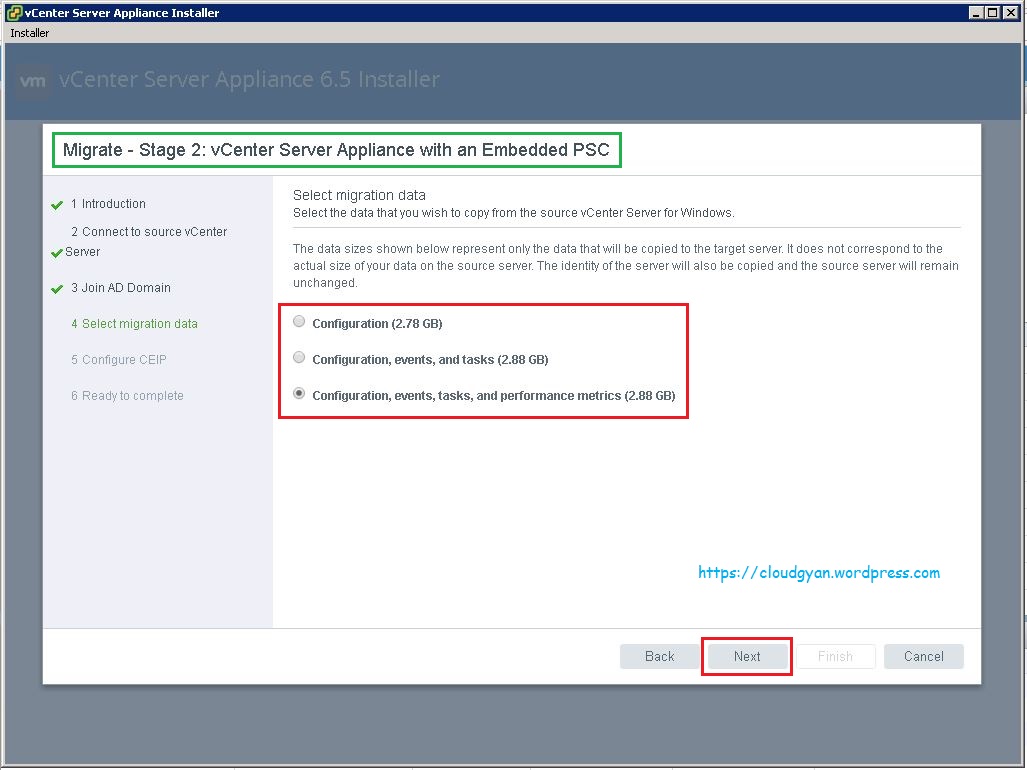
Select migration data configuration here,
I am Selecting all my Configuration, tasks and performance metrics for migration.
According to your requirement you can choose your deployment.
Click Next to continue:-
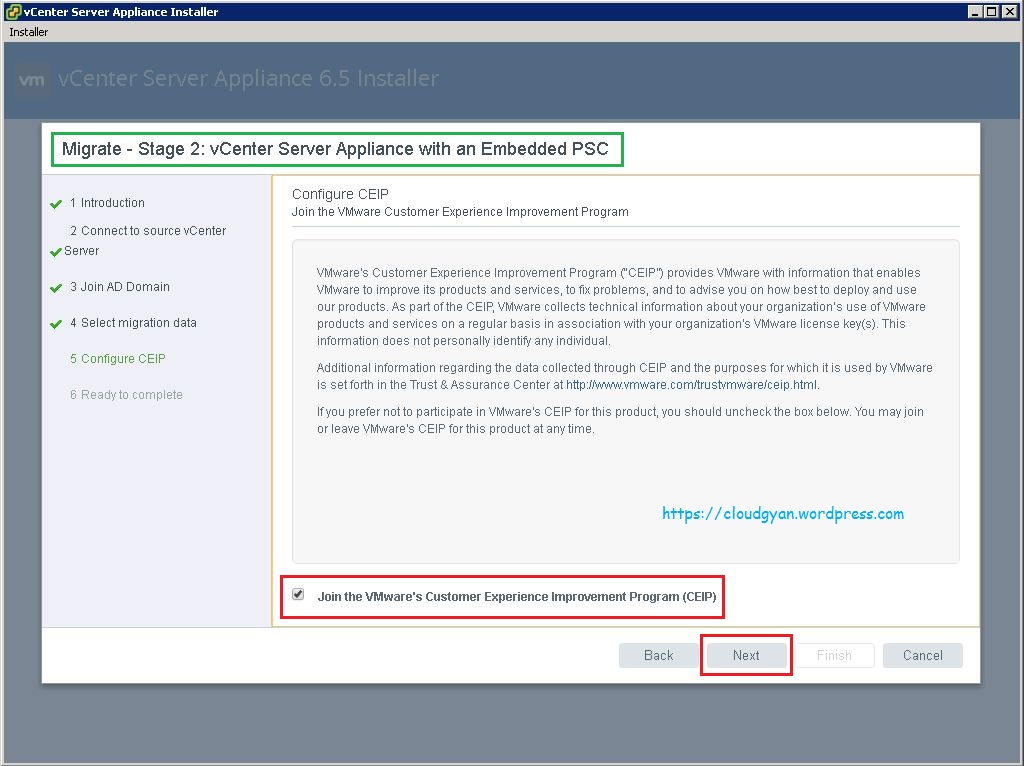
I am Selecting VMware Customer Experience Improvement program, it will help to improve the product.
Click Next to continue:-
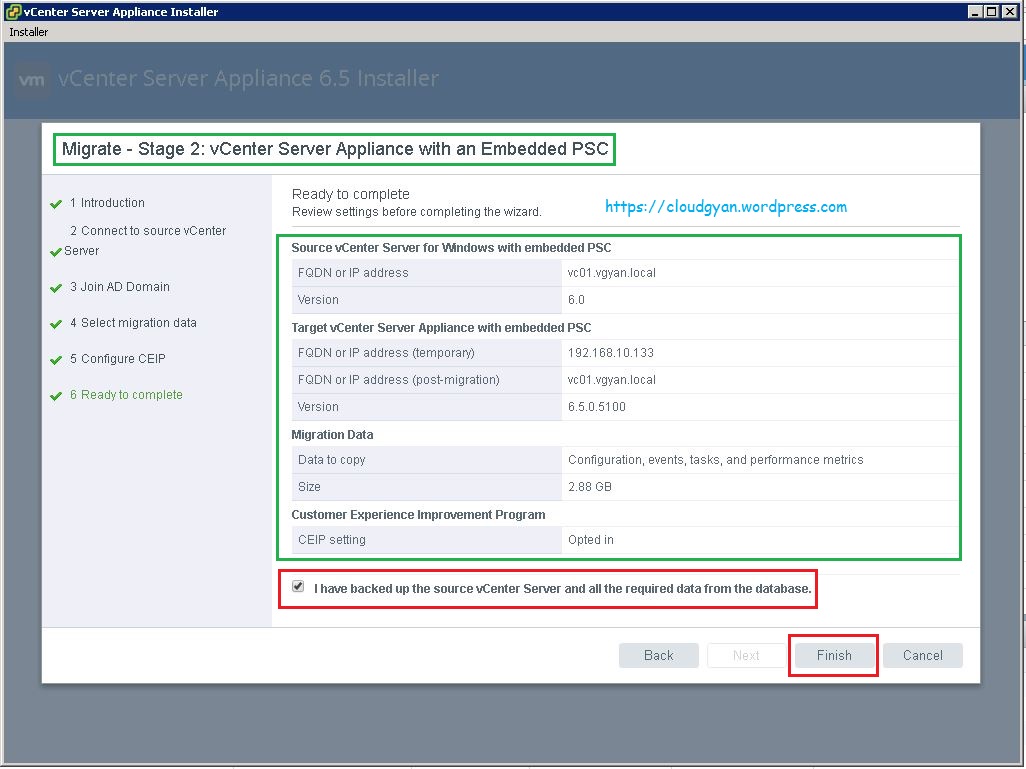
Verify all the details and accept “I have backed up the source vCenter Server and all the required data from the database”
Click Finish to start migration.
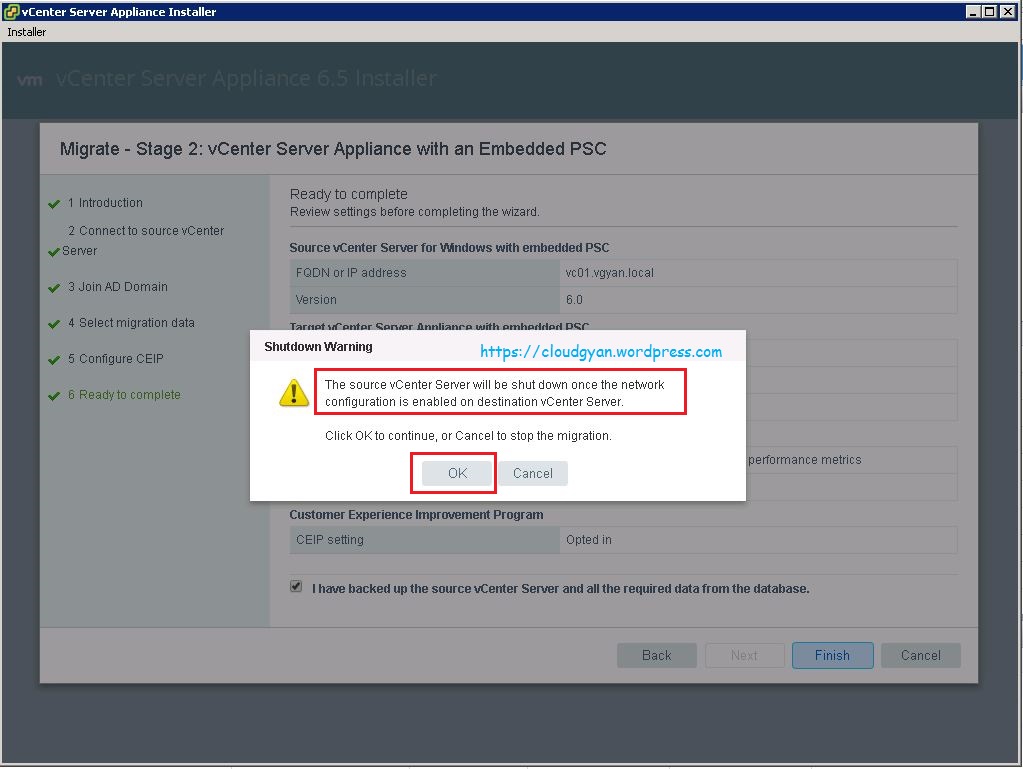
Shutdown warning:- The source vCenter Server Server will be shut down once the network configuration is enabled on destination VCSA.
Click OK to continue:-
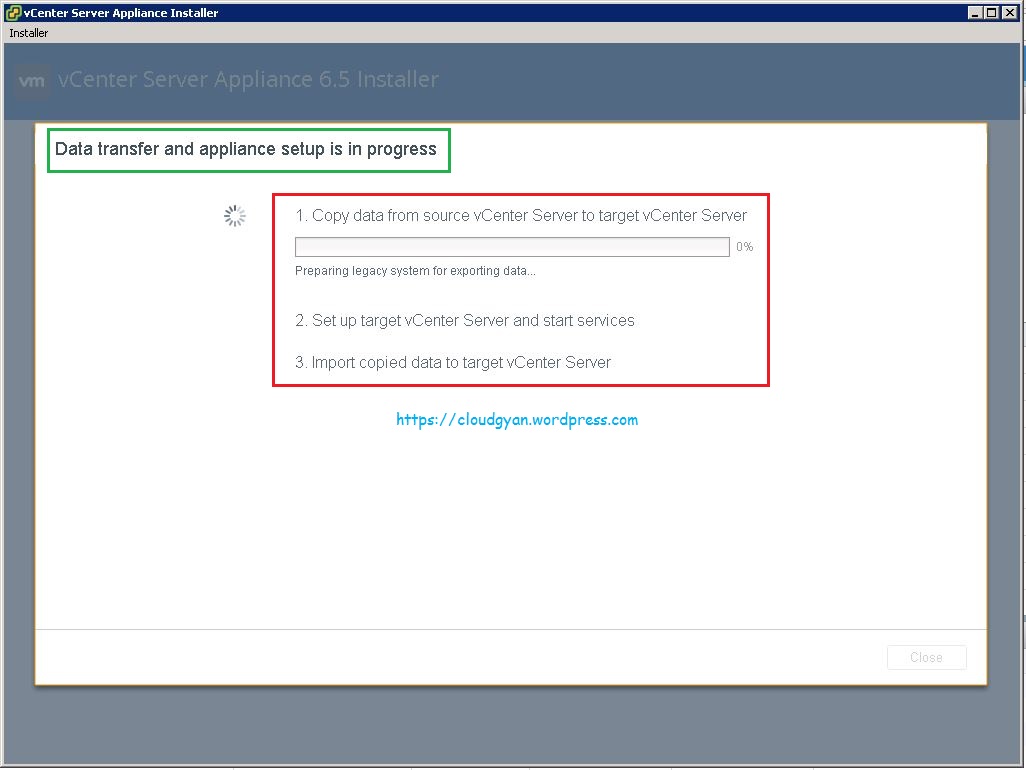
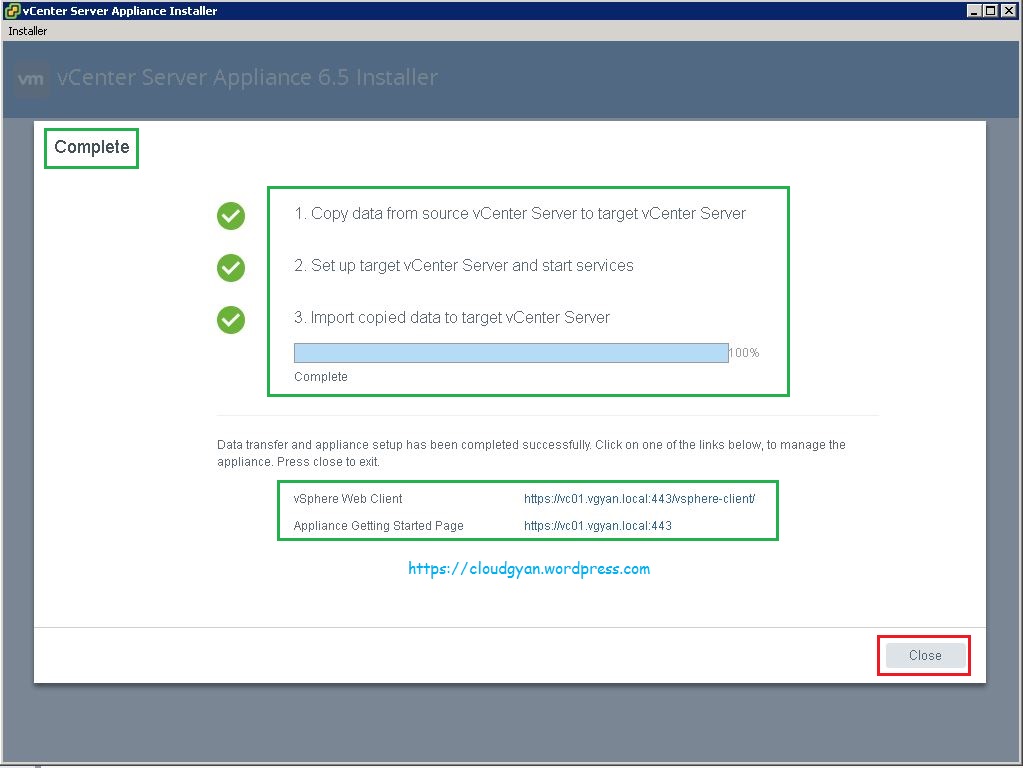
The migration will go through three steps,
- Copy data from source vCenter Server to target vCenter Server.
- Set up target vCenter Server and start services.
- Import copied data to target vCenter Server.
Migration taken around 20 min in my lab environment. If you are migrating in production environment it may take more time.
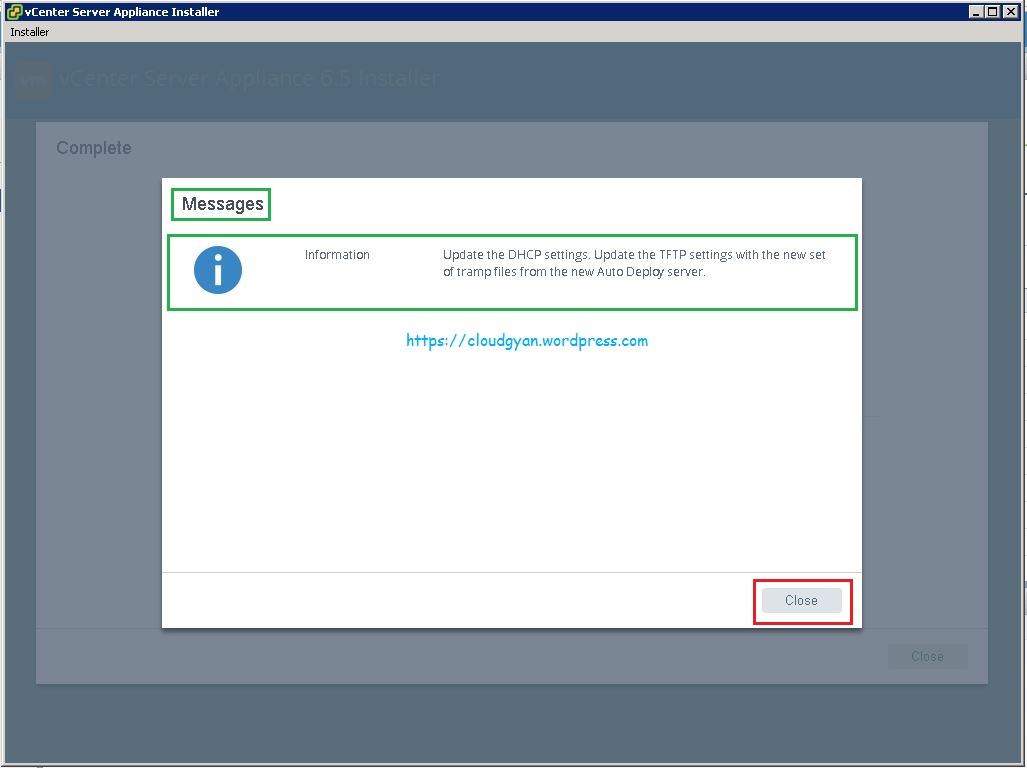
In the migration time there is an information, ” Update the DHCP settings. Update the TFTP settings with the new set of tramp files from the new auto deploy Server” if you are planning to use auto deploy, then you need to make this changes.
We successfully completed the migration from Windows based vCenter Server 6.5 to VCSA 6.5. it’s pretty easy to perform with VMware inbuilt migration tool.
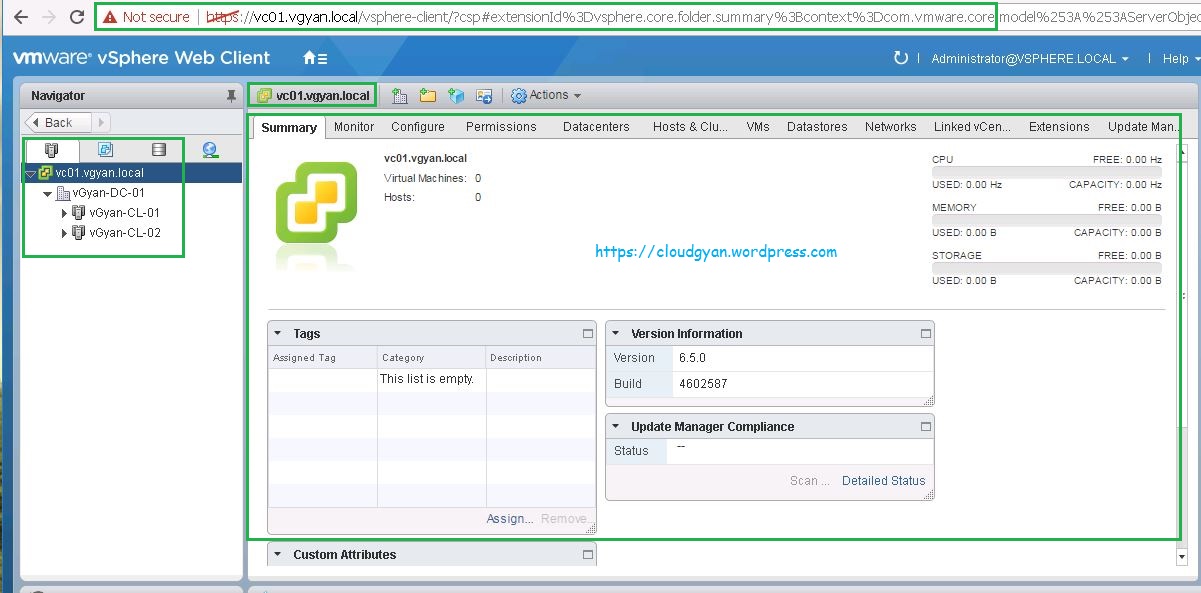
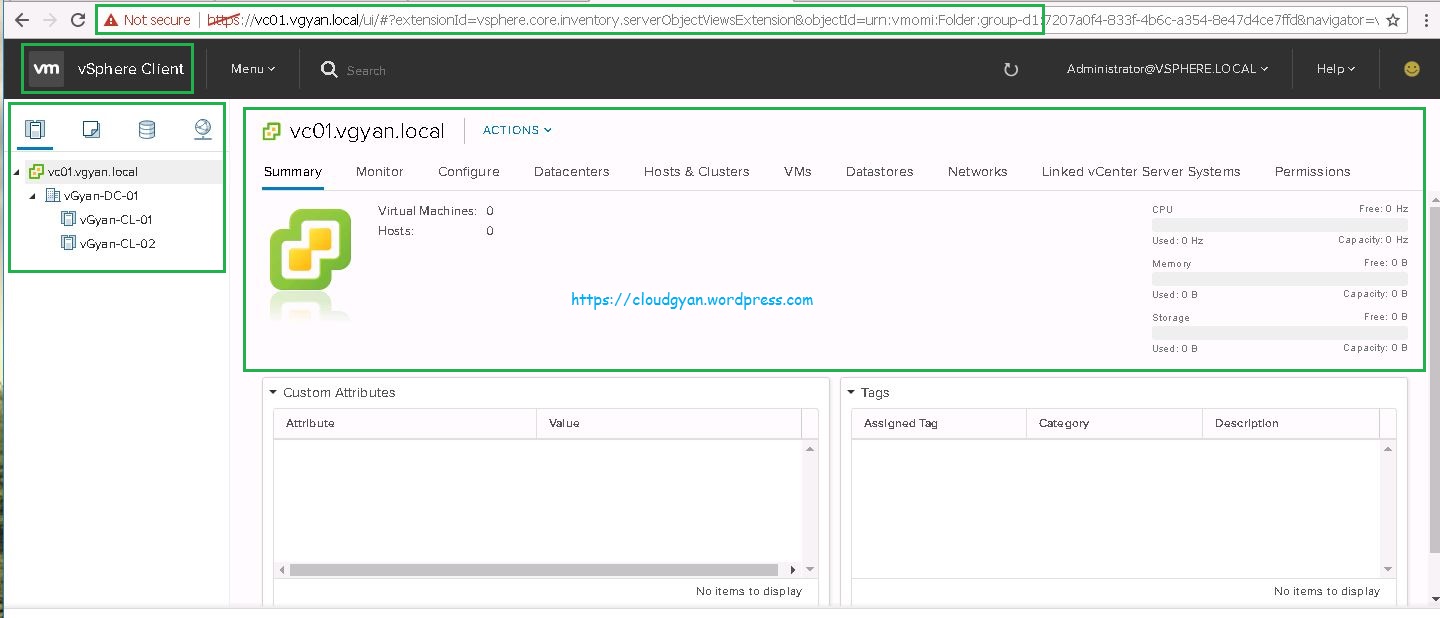
As you can see below screenshot, vSphere web client URL is same vc01.vgyan.local:443
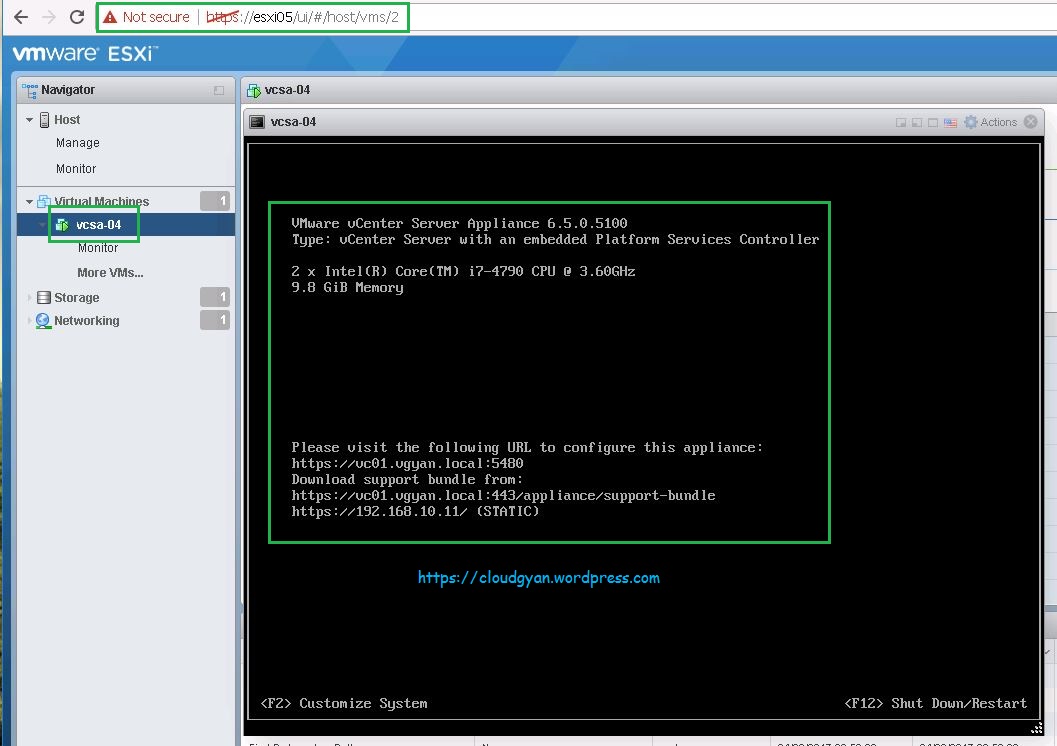
In the VCSA console, IP changed from 192.168.10.133 to 192.168.10.11.
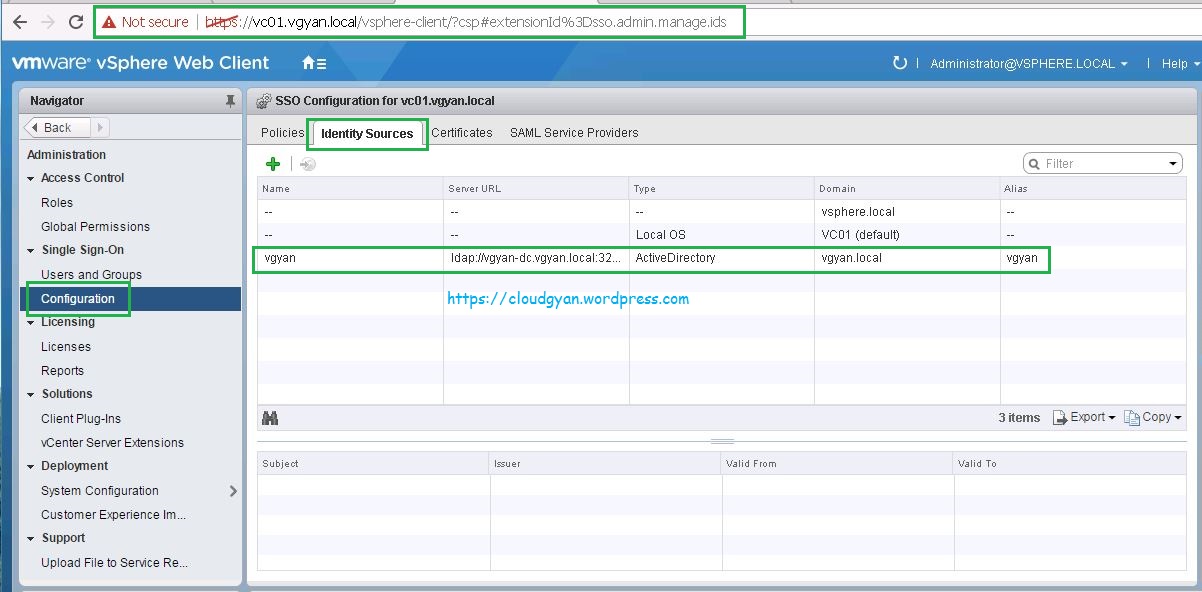
I am in VCSA 6.5 web client, vCenter Server is updated from 6.0 to 6.5.0
I have my active directory identification source is available after upgrade.
We migrated an external update manager to embedded update manager, below screenshot shows the baseline group Esxi 6.0 U2 but the upload Esxi 6.0 U2 image is not updated in new vCenter update manager 6.5.

vc01.vgyan.local vCenter Server on new vSphere Client.
I hope you enjoyed reading this post. Feel free to share this to others if it is worth sharing!!!
